You are using an out of date browser. It may not display this or other websites correctly.
You should upgrade or use an alternative browser.
You should upgrade or use an alternative browser.
Gainfreak
New member
One word............................. AWESOME!! 
ratter
New member
While the neck is face up on the table, it gets drilled for position markers ($5) and they get glued into place...

That way, they get sanded flush to the fretboard when the final sanding is done.
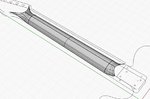
And now my favorite-est part of all. A teeny weeny tiny little cutter (.022" - thinner than your D string) cuts the fret slots:

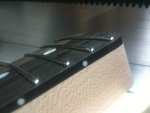
This is a bit out of order. After experimenting I decided it's best to cut the slots after final sanding so the depth doesn't change. In any event the slotted and sanded board looks like this:

The cool thing about the tiny fret cutter is that it makes it easy to cut the slots on a radius that follows the fretboard radius so there are no large gaps under the middle of the fret. You can also go all J Custom on it, stop the fret slots short of the end of the board and do ball end frets with no neck binding. It feels goofy to me but I know a lot of guys love it...
The bad thing about the tiny fret cutter is that as you can imagine they snap very, very easily!

That way, they get sanded flush to the fretboard when the final sanding is done.
And now my favorite-est part of all. A teeny weeny tiny little cutter (.022" - thinner than your D string) cuts the fret slots:

This is a bit out of order. After experimenting I decided it's best to cut the slots after final sanding so the depth doesn't change. In any event the slotted and sanded board looks like this:

The cool thing about the tiny fret cutter is that it makes it easy to cut the slots on a radius that follows the fretboard radius so there are no large gaps under the middle of the fret. You can also go all J Custom on it, stop the fret slots short of the end of the board and do ball end frets with no neck binding. It feels goofy to me but I know a lot of guys love it...
The bad thing about the tiny fret cutter is that as you can imagine they snap very, very easily!
Attachments
Digital Jams
New member
Thanks for taking the time Mike, awesome stuff and really explains the build process so one can determine what really goes into a properly built guitar.
Much nicer than the gibson factory vids I have seen
Much nicer than the gibson factory vids I have seen
ratter
New member
Digital Jams":1zguprgb said:Thanks for taking the time Mike, awesome stuff and really explains the build process so one can determine what really goes into a properly built guitar.
Much nicer than the gibson factory vids I have seen
I'm sure I'm not showing anything that most don't already know but I find the build threads entertaining so I figured I'd throw one out there!
I wish I had better than crappy cell phone pics...
Digital Jams
New member
ratter":22w181xf said:Digital Jams":22w181xf said:Thanks for taking the time Mike, awesome stuff and really explains the build process so one can determine what really goes into a properly built guitar.
Much nicer than the gibson factory vids I have seen
I'm sure I'm not showing anything that most don't already know but I find the build threads entertaining so I figured I'd throw one out there!
I wish I had better than crappy cell phone pics...
I think you are being kind in your assessment of known knowledge in wood working. It takes time, not just labor time but time for wood to settle, dry times between buffing, necks to settle before final shaping and fretting, etc. Nothing wrong with cnc for shaping the basics but it takes true craftsmen to make a great guitar. I watched a vid of a guy hand carving a top with a grinder that blew me mind the control this guy had. True binding work takes time and paint can last several weeks.
Some people think plek is the way to go, IMO it is saying we do not have enough good fret men to churn out the numbers. It blows my mind when I see a Monaco going for $1200, that guitar took months to build and probably perfect in every way.
IMO if people REALLY understood how their favorite guitar was made they would think again about the price they paid.
ratter
New member
Digital Jams":fhnms0nf said:ratter":fhnms0nf said:Digital Jams":fhnms0nf said:Thanks for taking the time Mike, awesome stuff and really explains the build process so one can determine what really goes into a properly built guitar.
Much nicer than the gibson factory vids I have seen
I'm sure I'm not showing anything that most don't already know but I find the build threads entertaining so I figured I'd throw one out there!
I wish I had better than crappy cell phone pics...
I think you are being kind in your assessment of known knowledge in wood working. It takes time, not just labor time but time for wood to settle, dry times between buffing, necks to settle before final shaping and fretting, etc. Nothing wrong with cnc for shaping the basics but it takes true craftsmen to make a great guitar. I watched a vid of a guy hand carving a top with a grinder that blew me mind the control this guy had. True binding work takes time and paint can last several weeks.
Some people think plek is the way to go, IMO it is saying we do not have enough good fret men to churn out the numbers. It blows my mind when I see a Monaco going for $1200, that guitar took months to build and probably perfect in every way.
IMO if people REALLY understood how their favorite guitar was made they would think again about the price they paid.
You said a mouthful. Looking at what I posted and then see that you can get a made-to-order neck from Musikraft for $199. Or a painted body from Warmoth or wherever for $300. That's a pretty damn good price for a quality product. Nobody is getting rich here until you get to be a Paul Smith, I would bet.
I'm trying to teach my kids that somebody, somewhere had to make everything. Your iPad did not grow on a tree. Your kitchen table started as a tree. Part of that grows out of my frustration with a day job that doesn't create anything...I'm just pushing data and paper around like so many others. I would like to build something that my son can point to someday.
And last but not least, if we aren't willing to pay what it costs to make something in the USA when we can, then sooner or later there won't be anything made in the USA. I don't like that idea at all. I'm all for a global economy and I buy my share of foreign goods for sure, but I try to buy my share of MIA goods as well, even if it costs a little more.
Maybe I should CNC a soapbox lol....
beachbum
New member
I LOVE threads like this! Major props ")
ratter
New member
Dupe..
ratter
New member
Glad you are enjoying it! I love them myself...
Hopefully I didn't kill RT with all my attachments...moving to Photobucket...
Off the table, much more shaping of the headstock and heel transitions. And this is the opportunity to fine-tune the back carve shape as well. Thin it down, take away some shoulder, etc. This 1-pc no-truss neck was a beefy mother (.98"-.99" the whole length) but it felt great and didn't move at all!


One nice thing about drilling the neck mounting pilot holes when I did is that I can be sure the body holes and neck holes are 100% in alignment. The neck pocket fit is another issue, but I don't have to worry about neck-to-body string alignment.
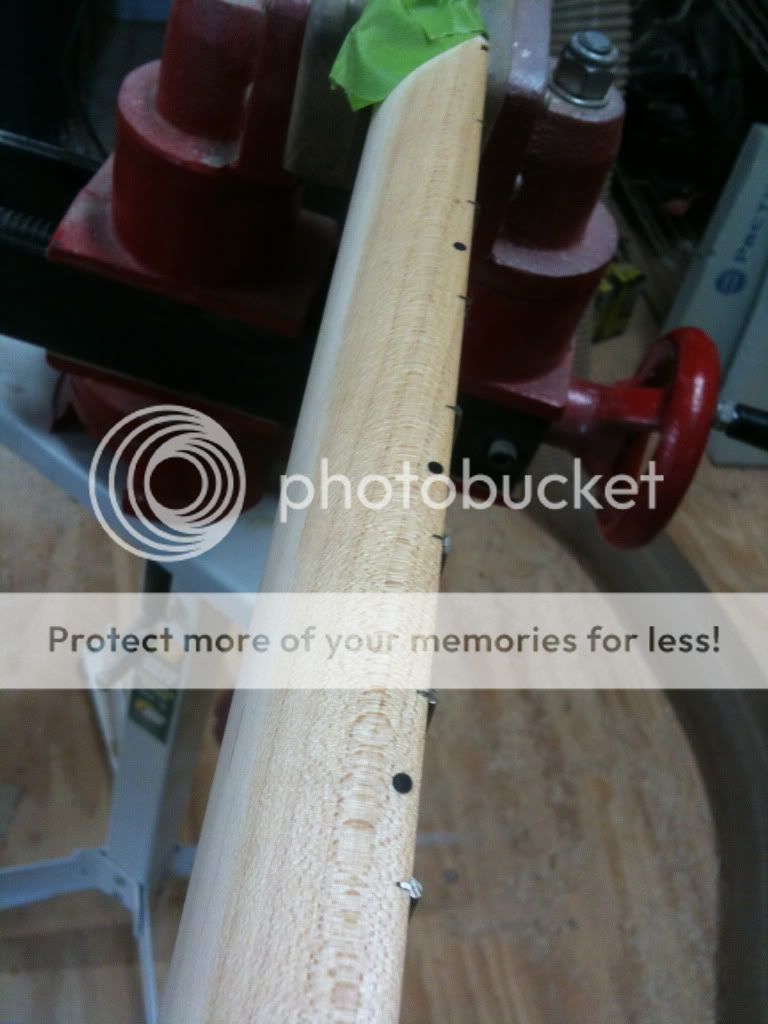
At this point the neck is ready to be fretted. Fretwire ($4) is bent (some places ship it pre-bent) to a radius just slightly tighter than the fretboard radius, so that the ends will want to stay down. Then I press each fret in using a Stewmac fret press. Some people hammer them in. Some people slide them in from the side(!)...whatever works. If you do your homework and do it right ideally you want them to hold tight to the fretboard and the fretboard should be prepped such that no major levelling work will be needed down the road...just a touch...
Frets are pressed in and the ends are clipped flush:

Hopefully I didn't kill RT with all my attachments...moving to Photobucket...
Off the table, much more shaping of the headstock and heel transitions. And this is the opportunity to fine-tune the back carve shape as well. Thin it down, take away some shoulder, etc. This 1-pc no-truss neck was a beefy mother (.98"-.99" the whole length) but it felt great and didn't move at all!


One nice thing about drilling the neck mounting pilot holes when I did is that I can be sure the body holes and neck holes are 100% in alignment. The neck pocket fit is another issue, but I don't have to worry about neck-to-body string alignment.
At this point the neck is ready to be fretted. Fretwire ($4) is bent (some places ship it pre-bent) to a radius just slightly tighter than the fretboard radius, so that the ends will want to stay down. Then I press each fret in using a Stewmac fret press. Some people hammer them in. Some people slide them in from the side(!)...whatever works. If you do your homework and do it right ideally you want them to hold tight to the fretboard and the fretboard should be prepped such that no major levelling work will be needed down the road...just a touch...
Frets are pressed in and the ends are clipped flush:

rupe
Active member
Wow, that's awesome!!! Great work!
ratter
New member
Once the frets are in place, the side dot locations are pencilled in and then drilled by hand and the markers ($3) get glued in...


Once they dry, they get filed flush along with the fret ends.


Once they dry, they get filed flush along with the fret ends.

ratter
New member
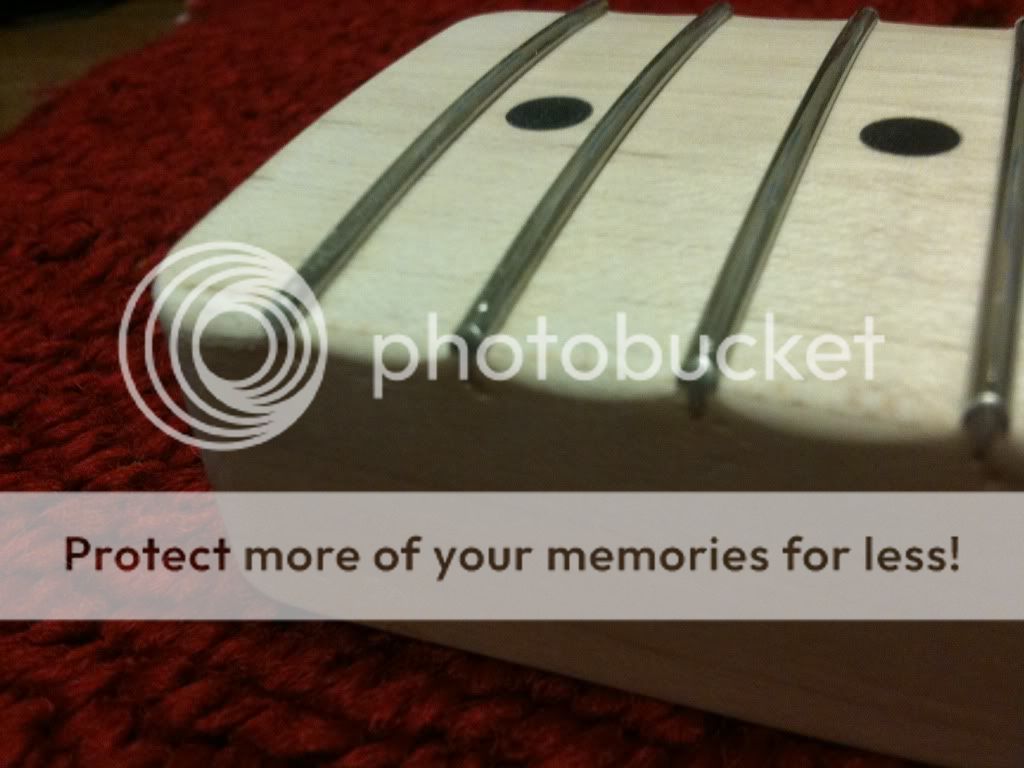
This is also the stage where a slight bevel is filed into the fret end. I go just to the point where the edge of the board is starting to get filed, as well.

I'm a big fan of HEAVILY rolled fretboard edges. To the point that they almost look scalloped. I love the feel. That means sanding through progressive grits between each fret
Finish sanding gets done on the neck. The tuner holes are drilled. I forgot to mention, the nut slot was cut when the fret slots were cut.
At that point the neck is basically done and ready for finishing. A quick coat of Tru-Oil is all I've got time for on this one. That means the neck will dirty up quick, but I don't mind.
Now we've got a finished body and a finished neck, we are down the home stretch.
Speaking of body finish...the body finish was so incredibly thin I figured I ran a real risk of burning right through it at cut and buff time. So I made a strategic decision to avoid that. I wet-sanded up through the grits to 1000 grit and stopped. This left a nice satin finish. It probably would not have worked on a dark color but the light blonde took to it well...
Time to start thinking about hardware, assembly, and setup...
ratter
New member
Most of my hardware choices are driven by just using up what I have on hand. This guitar is just for me and I'm pretty easy to please....we'll go from the top down
Sperzel staggered locking tuners ($60)
Tusq XL nut ($6)
Ernie ball strings ($4)
Dimarzio True Velvet T neck and bridge pickups ($120)
Mojotone vintage 3-saddle bridge ($25)
Control plate ($13)
Two CTS pots ($12)
One Oak Grigsby switch ($8)
Switchcraft output jack ($3)
Switch tip ($3)
dome knobs ($8)
electrosocket jack cup ($9)
cloth wire, cap, etc. we'll call it ($5)
strap buttons ($3)
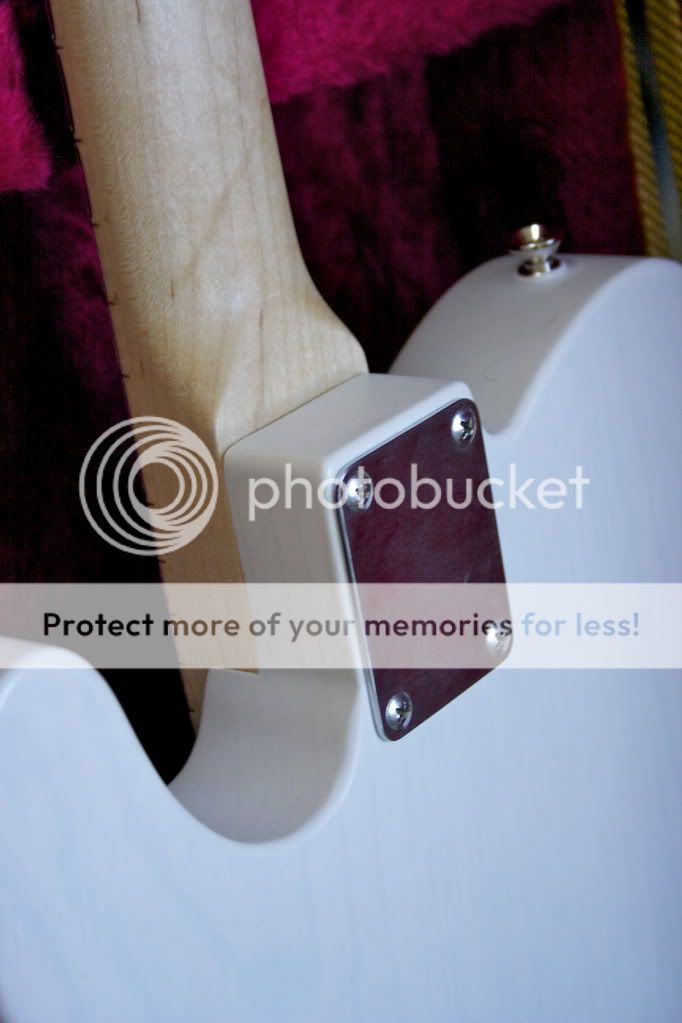
big honkin' steel neck plate ($20)
screws and such... ($5)
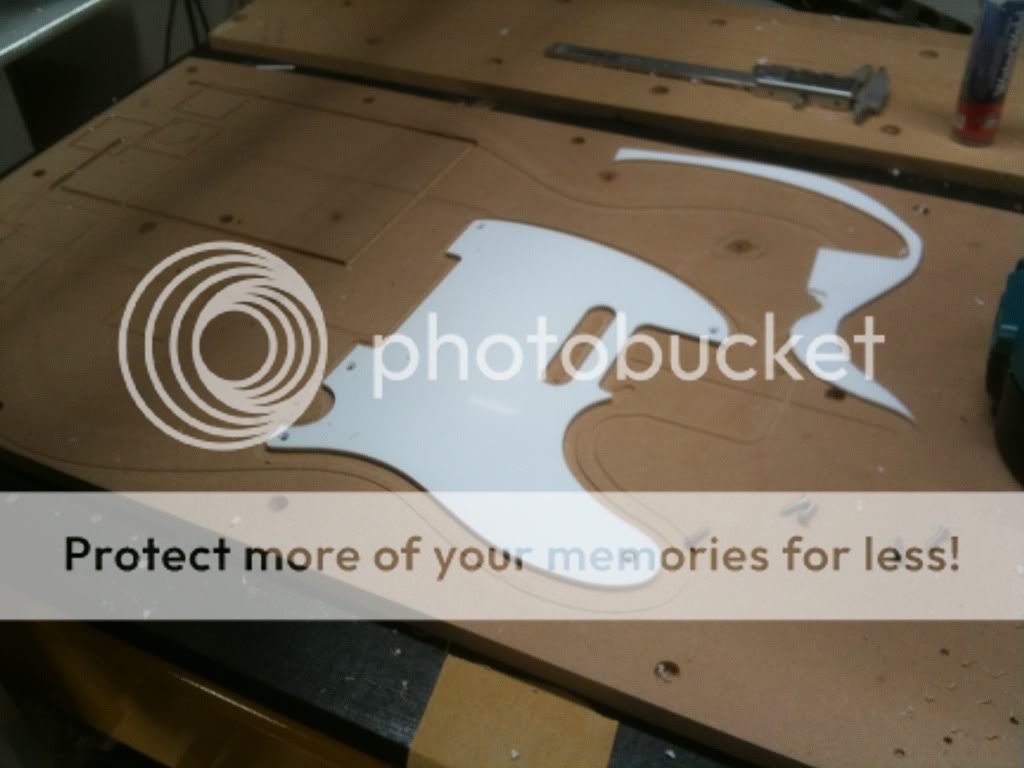
pickguard blank ($13)
I think that covers most of it. It's always more than you think. Just that hardware alone is over $300 and that's with no case or bag yet...it adds up in a hurry!
Speaking of pickguards...while we're at it...
I don't have photos of a lot of the next steps, but there's no real surprises. The fret get dressed and the neck gets fitted to the body. This one turned out well...a nice "slip" fit. Usually then I install tuners and bridge and string it up to make sure there are no big surprises, set the relief and action, etc. I dress the frets more if needed. Then the electronics get wired up and installed and that's pretty much it. From there on out it is minor tweaks to the playability, action, intonation, pickup height, etc. All pretty easy stuff.
There are some cosmetic problems with this neck....I already know it won't last. I used new dot markers from a new supplier and a different install method. Two of them turned out sloppy. But that's what happens trying out new things. And my fret cutters had a ding in the blade which in turn put a few dings in the sides of the neck when I flush trimmed the frets. That kind of thing will bug the crap out of me. So I will probably build a new neck with my own headstock for it in the coming weeks. And that will put to rest my tele GAS for a little while. And I have another build in mind for some other cool wood and hardware I have laying around....
Sperzel staggered locking tuners ($60)
Tusq XL nut ($6)
Ernie ball strings ($4)
Dimarzio True Velvet T neck and bridge pickups ($120)
Mojotone vintage 3-saddle bridge ($25)
Control plate ($13)
Two CTS pots ($12)
One Oak Grigsby switch ($8)
Switchcraft output jack ($3)
Switch tip ($3)
dome knobs ($8)
electrosocket jack cup ($9)
cloth wire, cap, etc. we'll call it ($5)
strap buttons ($3)
big honkin' steel neck plate ($20)
screws and such... ($5)
pickguard blank ($13)
I think that covers most of it. It's always more than you think. Just that hardware alone is over $300 and that's with no case or bag yet...it adds up in a hurry!
Speaking of pickguards...while we're at it...
I don't have photos of a lot of the next steps, but there's no real surprises. The fret get dressed and the neck gets fitted to the body. This one turned out well...a nice "slip" fit. Usually then I install tuners and bridge and string it up to make sure there are no big surprises, set the relief and action, etc. I dress the frets more if needed. Then the electronics get wired up and installed and that's pretty much it. From there on out it is minor tweaks to the playability, action, intonation, pickup height, etc. All pretty easy stuff.
There are some cosmetic problems with this neck....I already know it won't last. I used new dot markers from a new supplier and a different install method. Two of them turned out sloppy. But that's what happens trying out new things. And my fret cutters had a ding in the blade which in turn put a few dings in the sides of the neck when I flush trimmed the frets. That kind of thing will bug the crap out of me. So I will probably build a new neck with my own headstock for it in the coming weeks. And that will put to rest my tele GAS for a little while. And I have another build in mind for some other cool wood and hardware I have laying around....
M
Meathead
New member
Awesome Mike, big props for taking the time to learn all of this stuff. You must have a "Big Bang Theory" IQ 
Makes you wonder how Fender can make a (Bullet strat) playable guitar that actually sounds decent for $100
Makes you wonder how Fender can make a (Bullet strat) playable guitar that actually sounds decent for $100
Digital Jams
New member
Shit, my brass bridge for the Summers was $140 alone 
With all this work posting why don't you add your website and contact info into your sig?")
With all this work posting why don't you add your website and contact info into your sig?
Rich7620
Member
Thats just awsome
ratter
New member
Randy Van Sykes":16d1xumn said:Makes you wonder how Fender can make a (Bullet strat) playable guitar that actually sounds decent for $100
I can't even begin to understand how...but I have an appreciation for it, believe me...
Digital Jams":16d1xumn said:With all this work posting why don't you add your website and contact info into your sig?
Someday! Not anytime soon...
Rich7620":16d1xumn said:Thats just awsome
Thanks!
Almost forgot the money shots...
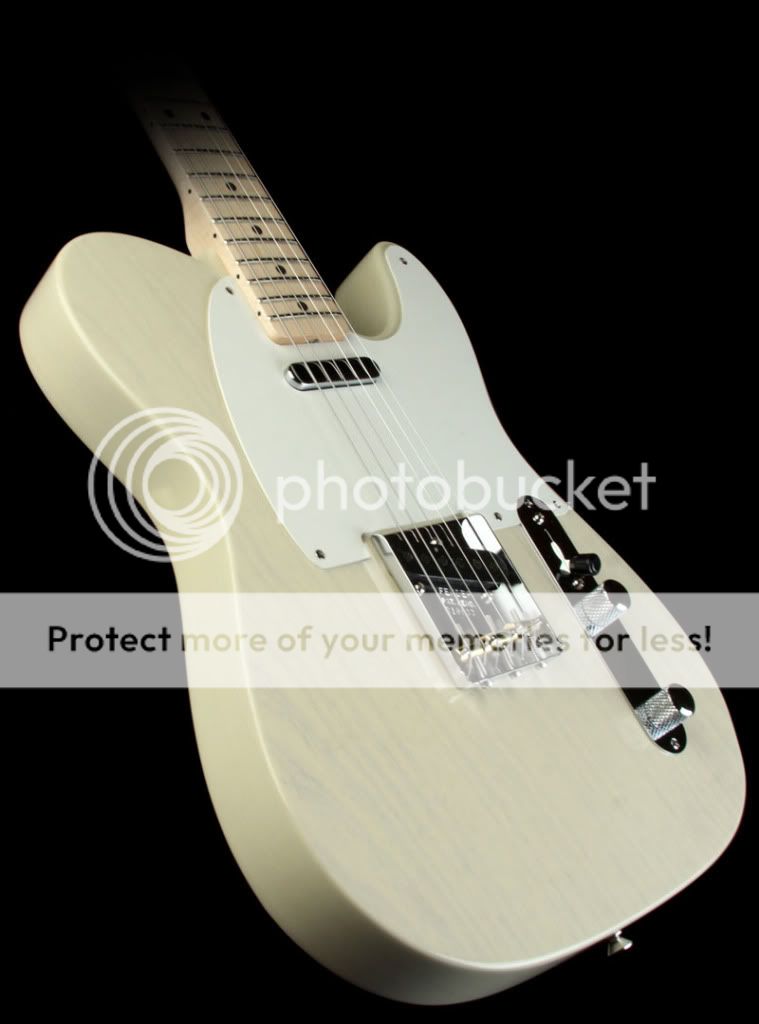
This was our target:
This is where we landed...
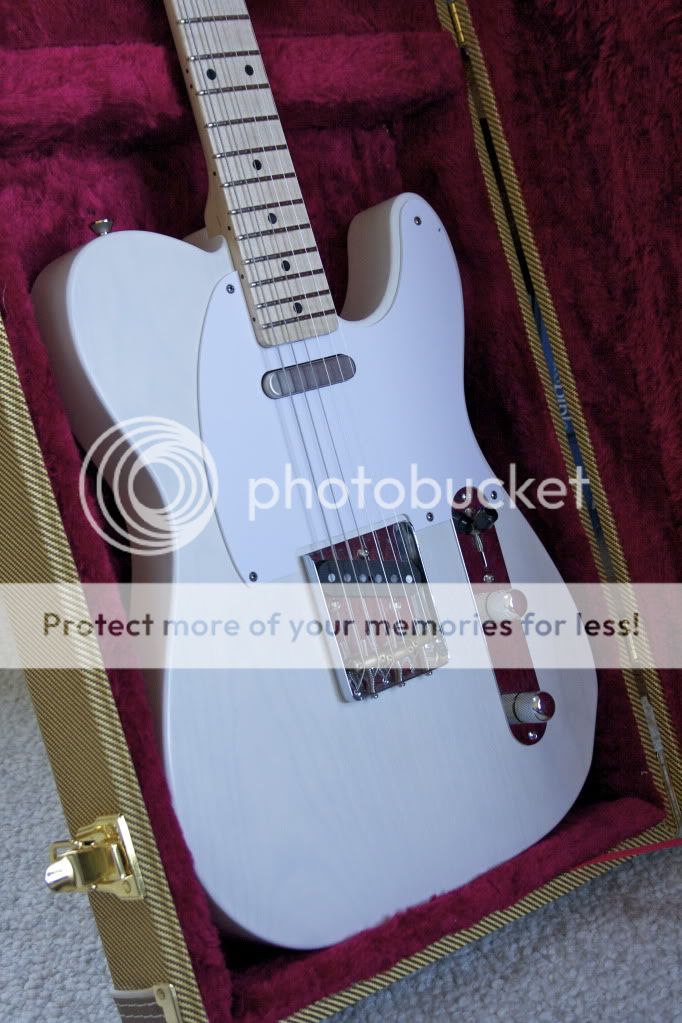
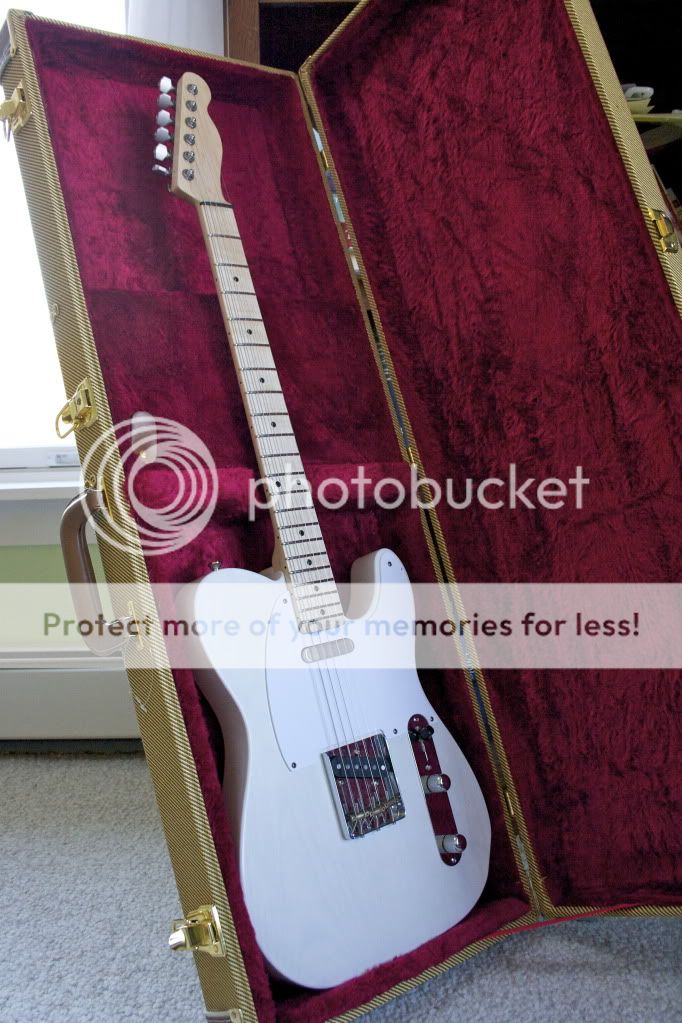
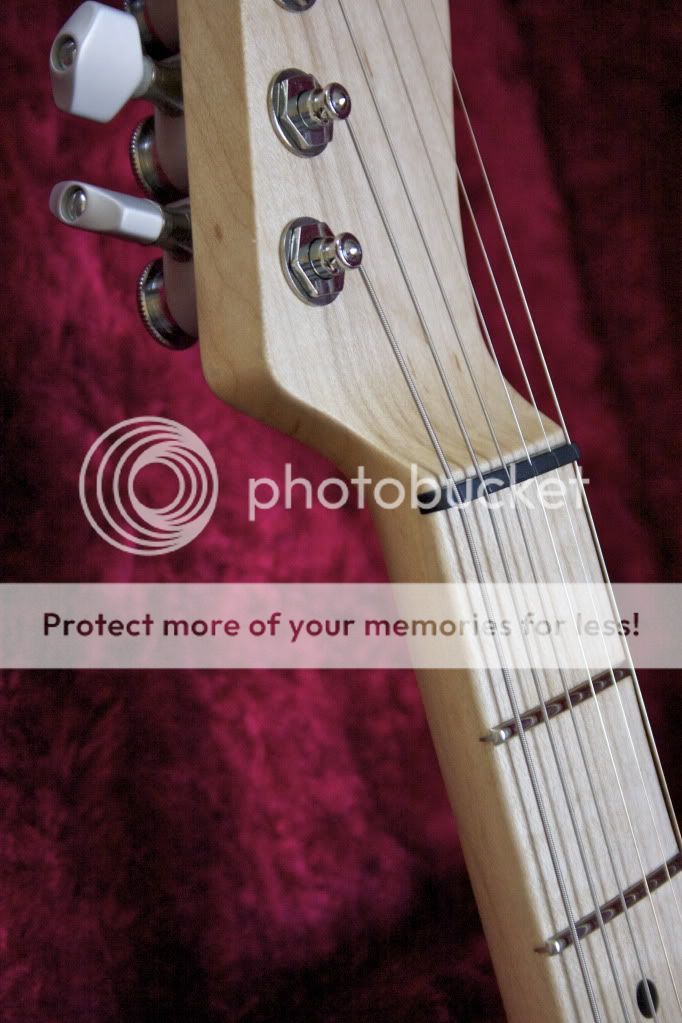
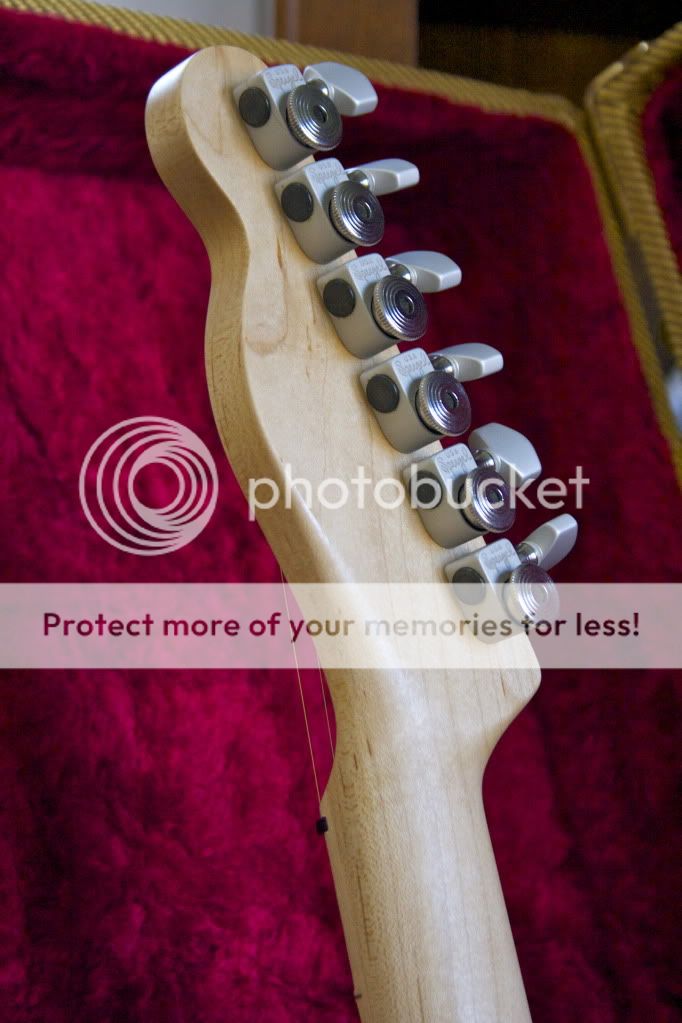
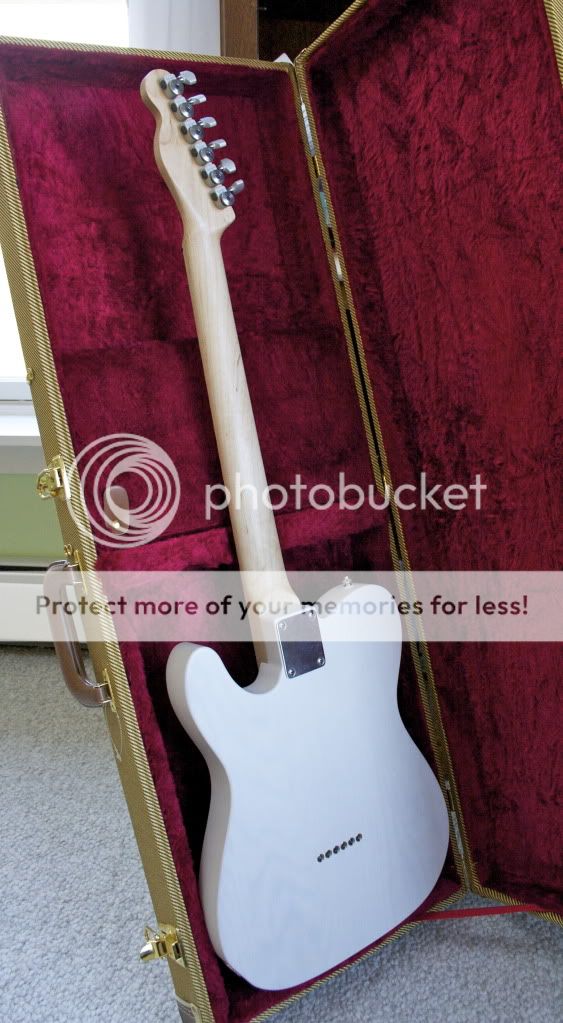
Final specs:
Swamp ash body, satin nitro finish
Maple neck with maple fingerboard, black dot inlays, oil finish
21 Jumbo frets, 10" fretboard radius
Vintage style brass saddle bridge
Sperzel locking tuners, Tusq nut
Dimarzio True Velvet T pickups, 3-way, Volume, Tone
mboogman
Active member
You have infinitely more patience with these things than I do, and it shows. Very nice work!
ratter
New member
mboogman":2kaxmpsa said:You have infinitely more patience with these things than I do, and it shows. Very nice work!
I am actually extremely impatient and it is that trait that bites me in the ass every single time. Every mistake I make (and there are MANY) points right back to it. But thank you for the kind words!
Similar threads
- Replies
- 103
- Views
- 17K