Fast Guitars Kit Build Thread

dirtyfunkg

Well-known member
I just bought this kit: http://www.fastguitars.com/index.php/gu ... ilder.html

African Mahogany body and neck
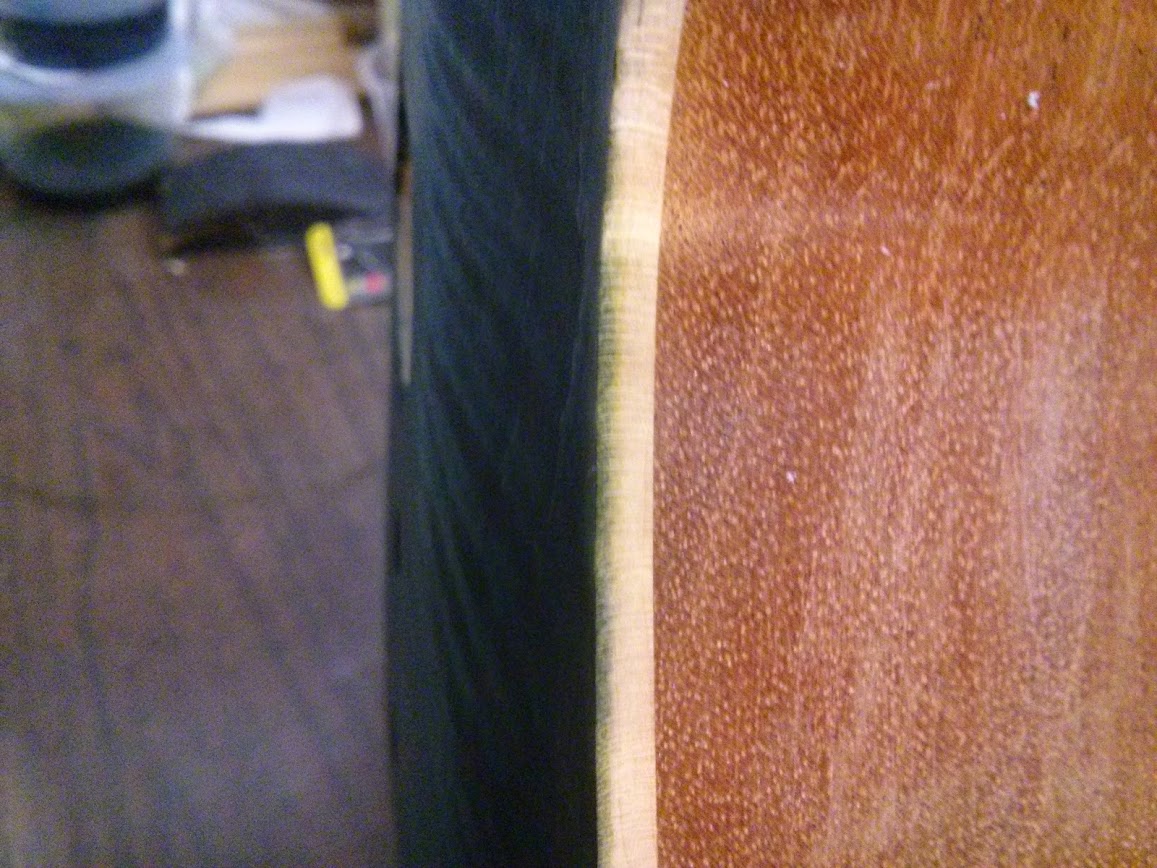
Ebony fretboard
NO inlays (I really like the clean look of a fretboard without inlays)
2pc Eastern Flamed Maple top
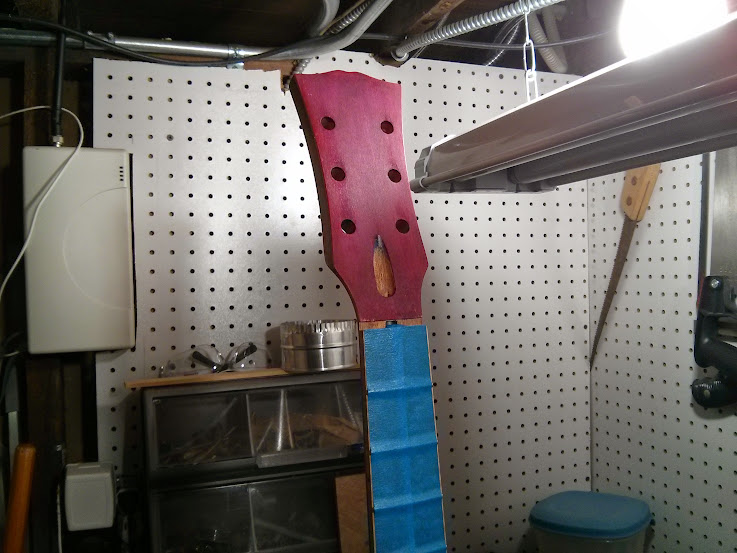
Standard headstock shape w/ maple veneer
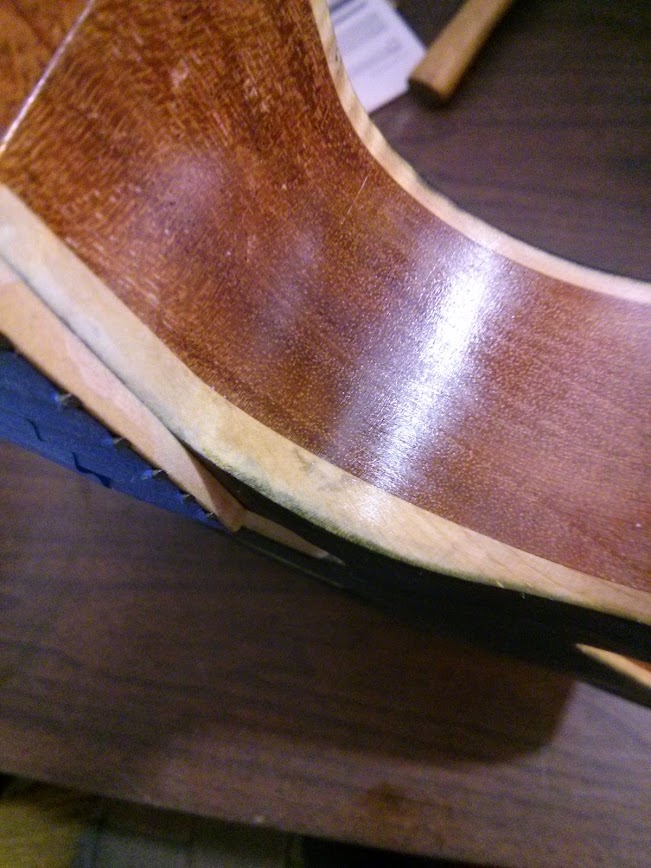
Flame Maple neck binding

For the appointments, I've purchased:
Duncan JB and P-Rails pickups
Graph Tech Ghost bridge piezo/midi pickup system
Graph Tech Hexpander and Acousti Phonic electronics to go with the bridge
Sperzel Tuners


All gold hardware (the Graph Tech bridge in gold was way cheaper so I went with it).

Utilized the Musicians Friend 20% off any single item discount for the Graph Tech electronics bundle, then another discount for the rest of the electronics/hardware.

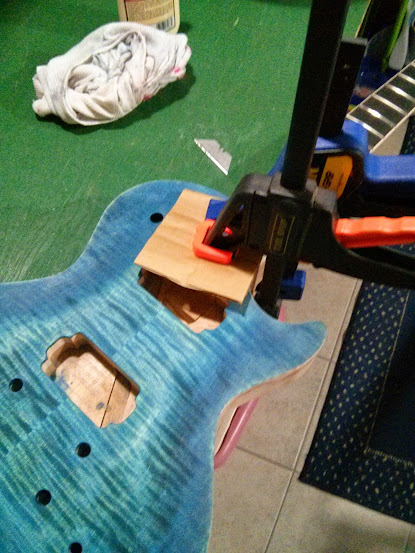
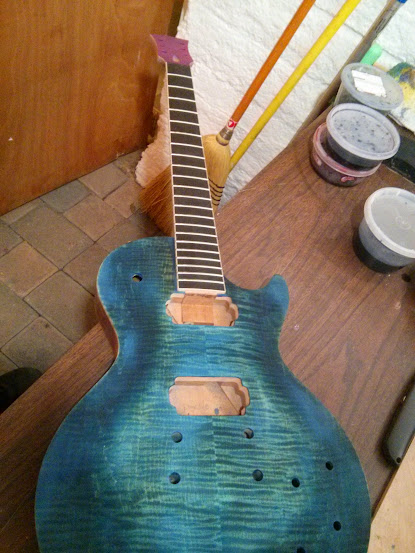
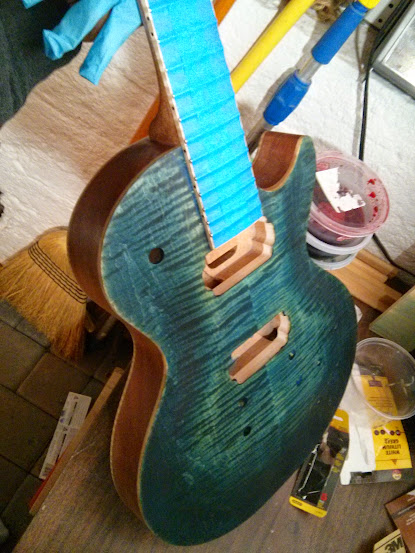
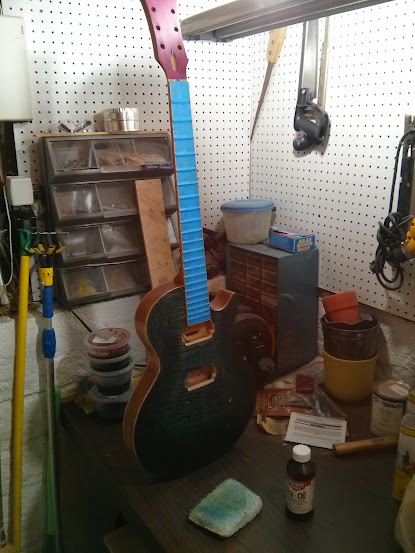
I'm thinking I'll document the assembly and finishing on RT. I'm super excited--have always done Partscasters but never done a set neck build or guitar finishing, but I've stained/finished furniture so I don't expect it will be that much different. I'm planning on doing a stain then either wipe on poly or a tru-oil exterior.
 
I know this got no responses but I figure what the hell, people can ignore or post or (hopefully) shoot me some advice along the way... ESPECIALLY once I get to the nitro part of the entire process.

So I received the kit a few weeks ago and have been going about purchasing stuff for finishing, parts, etc.

Here's a picture of the kit when I got it. Sorry it's blurry.


I started finishing on Saturday by doing some grain filling on the mahogany for the neck back and sides of the guitar, then doing a black stain coat on the back of the guitar.

Sunday, I sanded back the back then did a black coat on the front. Waited about an hour then sanded back the front.

Yesterday night I mixed my stain. I'm using Keda dyes by the way. They are really inexpensive and are supposedly the base pigments used by PRS... I just got two of their sampler packs for a total of $26... I'm realizing now that I probably seriously overbought.

Today I did my first coat of color for the front. The sand back has got the flame really popping. I think it's going great so far, but certainly far from finished. Definitely a few more coats needed, plus I want to get a decent burst so will darken the sides with some black once I have the color really where I want it for the main parts of the guitar.

After I am done with all of the colors, I am going to sand the sides since I still have the grain filler exposed and, in the process, I'll be able to sand away any dye that may have bled through to get the PRS style natural binding. As you'll notice, I'm really not masking on the body except for anywhere glue may come in contact for the neck joint.

Here's some guitar porn for you of the guitar right after staining today.


I think I'm going to do a straight blue coat tomorrow to see how that plays with the green that's down. I did want more blue tones out of this for a more aqueous, flowing look. I'll probably lightly sand what I have on now to make it more of a depth popper, put down some blue then see where I stand. If it's too blue at that point, I can light sand again and drop some more of the green like what I've already got on.

This process is loads of fun. I'm not even really looking forward to be done and having a [hopefully] awesome feeling and sounding guitar... the process itself is really enjoyable. This being my first build, the confidence builder (no pun intended) of realizing I can do this, and looking at how awesome it looks

The finish so far looks super 3D to me. I love it.
 
Looking good so far! Are you going to colour match the headstock or stain the sides / back another colour?
 
neilli":fn74yv8z said:
Looking good so far! Are you going to colour match the headstock or stain the sides / back another colour?

I'm currently planning to color match the headstock and back. It has a maple veneer so should be easy enough. It isn't flamed though--that would have been amazing.

Who knows, I may change my mind. If I continue with this green body, a transparent red or orange headstock may provide a cool looking contrast.

Right now I think I'm just going to keep the sides with a natural mahogany color (no stain). I wiped some mineral spirits over it and it's beautiful, brilliant red, which would be an awesome contrast on the green or turquoise.
 
sweet I am very interested in seeing the build process and what it looks like when it's all done! I always wanted to get one of these kits pretty cool!
 
Excellent and the price is awesome. How did you chose this company say over, precision guitar kits? Also how is the headstock pitch? 17 degrees or less? Most companies seem to dismiss the original (17) pitch.
 
tech21man":34muz8qe said:
Excellent and the price is awesome. How did you chose this company say over, precision guitar kits? Also how is the headstock pitch? 17 degrees or less? Most companies seem to dismiss the original (17) pitch.

I actually stumbled on this company and found out that it all comes from the same shop/CNC that Precision comes from. Kevin Fast is involved with both in some capacity. I chose Fast Guitars over Precision because Kevin actually responded to my emails. No one at Precision ever responded to the few emails I sent, so I got the impression they were too busy for me or something. Maybe they just thought I was kicking tires.

Kevin was very quick and responsive. He was honest about the wait time likely being long (he estimated 5-6 weeks... it ended up being less than that). The flamed back isn't an advertised option but I asked about it and he said no problem, just a $100 upcharge which I was happy to pay. Judging by the pictures, I think it's pretty worth it. It arrived well packed and reasonably well sanded. I just went over it with 220 before doing anything on the body.

The pitch is 13.5 degrees on the headstock.

Here are some pics of the front and back after the stain I hit it with today. I did another coat over green on each side, then a coat of blue. I was more liberal with the stain around the perimeter so as to start getting a better burst on the top. When I sanded off the black earlier in the week, I intentionally sanded less around the sides for the same reason. There's a light burst coming in now and I'm really happy with where it's going. I will hit it with black later today to make the burst pop a bit more.


I'll post more pictures today once I've got the burst really going. I'm actually surprised that this is turning out so well. Who'da thunk I could actually do this???
 
So it's been a couple weeks, but I've gotten more done. Made mistakes along the way. Moral of my story: don't get overconfident/impatient and skip out on masking paper because that's what I saw in that PRS finishing video. :doh:

The saving grace is that every lesson teaches. This is my first time doing anything like this, so it's not going to be perfect, but hopefully the function and fit will be. It has certainly encouraged me to do this again, even better.

I glued the neck in last Friday.
IMG_20141219_160001.jpg


IMG_20141219_155951.jpg


IMG_20141219_165816.jpg


Since it's my first project, I've opted against Nitro (even though I already bought all of the nitro rattlecans :doh:), and I'm using Tru-Oil. Way easier and safer.

After first coat of Tru Oil today, here we are. Notice the darkening and richness of the mahogany. I have not oiled the back yet, but will do so tomorrow. Then it will be a few days' break for Christmas with the family out of town before getting back to it.

IMG_20141223_141041.jpg


IMG_20141223_140954.jpg


IMG_20141223_141006.jpg


IMG_20141223_141013.jpg
 
Great looking guitar. Just found this thread. I wanted to let you know I have a kit guitar almost like it, but mine is a flat top, Jr type LP guitar kit from Precision Guitar Kits.com and it's killer. I painted it that mirage color and cleared it, but it clouded up in the clear process so I will have to redo it or some tell me I can use a heat gun and get the cloudy parts out. It's a killer guitar and has no inlays, mahogany body with one hum, (which is what I love to play ala VH) and has maple quarter sawn neck with maple fretboard and 6100 frets. Best fretwork I've ever seen on a guitar from the factory. I can't believe how good they are. I just need to get the rest of the TOM Bridge hardware and a couple other things and I'll put it together. I'm just so busy. Took me forever to pain it.
Let me know how it comes out for you and how it sounds. Love this idea!
T
 
ThrowBackMan":1fexnbze said:
Great looking guitar. Just found this thread. I wanted to let you know I have a kit guitar almost like it, but mine is a flat top, Jr type LP guitar kit from Precision Guitar Kits.com and it's killer. I painted it that mirage color and cleared it, but it clouded up in the clear process so I will have to redo it or some tell me I can use a heat gun and get the cloudy parts out. It's a killer guitar and has no inlays, mahogany body with one hum, (which is what I love to play ala VH) and has maple quarter sawn neck with maple fretboard and 6100 frets. Best fretwork I've ever seen on a guitar from the factory. I can't believe how good they are. I just need to get the rest of the TOM Bridge hardware and a couple other things and I'll put it together. I'm just so busy. Took me forever to pain it.
Let me know how it comes out for you and how it sounds. Love this idea!
T

Post some pics! Would love to see it!
 
Couple more photos. I LOVE how the mahogany is taking this oil. You can already see some shine. It looks rich.

IMG_20141223_141053.jpg


Here are a couple blemishes with stain getting on the binding that I wasn't able to scrape/sand off as effectively as I'd have thought. It really got deep.

IMG_20141223_151303.jpg


IMG_20141223_151319.jpg


IMG_20141223_151311.jpg
 
Back
Top