A
Arcturus
New member
About 20 years ago when I started modding and tinkering with tube amps, I began to amass tube amp parts from various sellers locally and online. This collection of parts consists mainly of vintage used, vintage NOS, current production new, and current production used transformers. They may also have some current production but discontinued parts. With the accumulation of these resources, Sloane Amplification will be starting a line of amps called the “Special Builds.” These amps will vary in wattage and model type. They will be designated with a different nameplate than my production models.
The “Special Builds” circuits will either be former production models of amps I have made in the past and have taken back for a trade in, or circuits of my current production models such as the Antares, Arcturus, Canopus, Procyon, or Regulus. All of the special builds will have a detailed description of the parts from which they are made, will be tested and serviced to be in top working order, and will have the same Sloane Amplification warranty as my new production models. These Special Build amps will be an excellent opportunity to get a high quality amp at a discounted price.
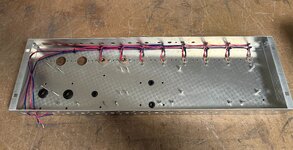
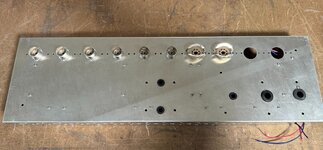
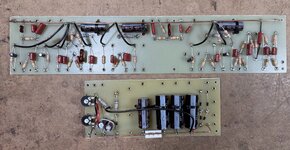
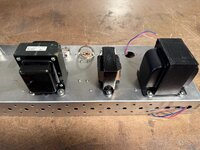
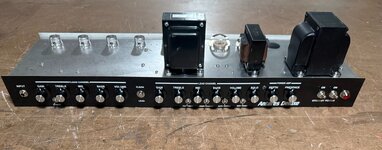
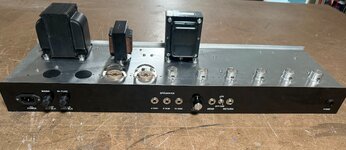
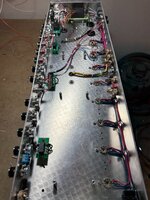
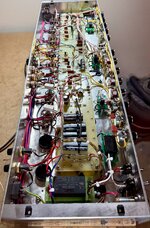
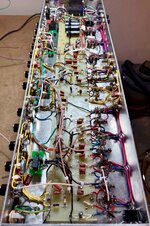
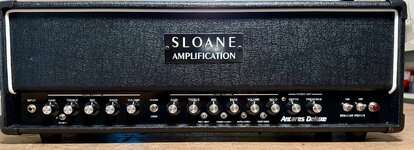
This thread will take you through the process of the Special Build that I am currnetly building which is an Antares Deluxe 50 Watt that will be priced at $1699 with free shipping in the 48 contiguous US states. The Antares is a SLO inspired amp but not a clone. The clean channel is based on a Fender AB763 circuit. It starts with a .063" 5052 aluminum chassis in which the tube sockets and stand offs are mounted,the heaters, wired, and the circuit boards populated. The difference from the Antares production model is the standoffs are a different type and the power supply circuit board is 1/8" instead of the standard 3/32" which I typical use
The “Special Builds” circuits will either be former production models of amps I have made in the past and have taken back for a trade in, or circuits of my current production models such as the Antares, Arcturus, Canopus, Procyon, or Regulus. All of the special builds will have a detailed description of the parts from which they are made, will be tested and serviced to be in top working order, and will have the same Sloane Amplification warranty as my new production models. These Special Build amps will be an excellent opportunity to get a high quality amp at a discounted price.
This thread will take you through the process of the Special Build that I am currnetly building which is an Antares Deluxe 50 Watt that will be priced at $1699 with free shipping in the 48 contiguous US states. The Antares is a SLO inspired amp but not a clone. The clean channel is based on a Fender AB763 circuit. It starts with a .063" 5052 aluminum chassis in which the tube sockets and stand offs are mounted,the heaters, wired, and the circuit boards populated. The difference from the Antares production model is the standoffs are a different type and the power supply circuit board is 1/8" instead of the standard 3/32" which I typical use