

BRENTrocks
Well-known member
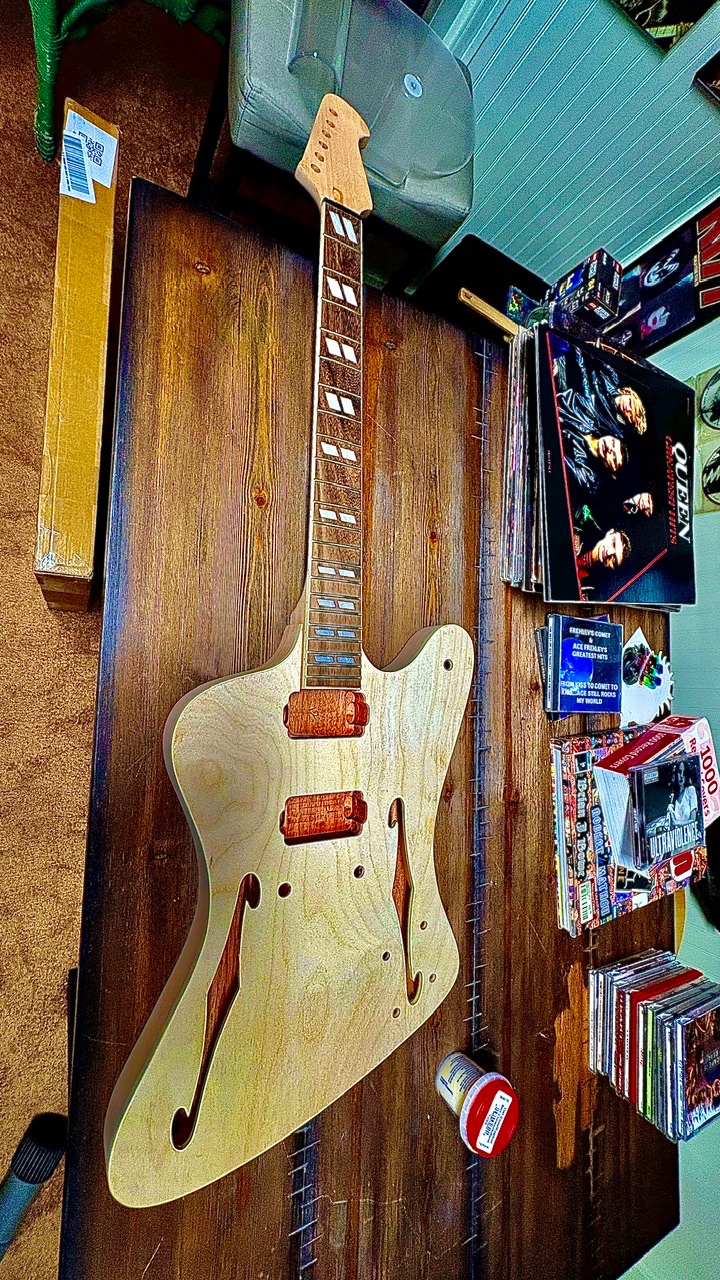
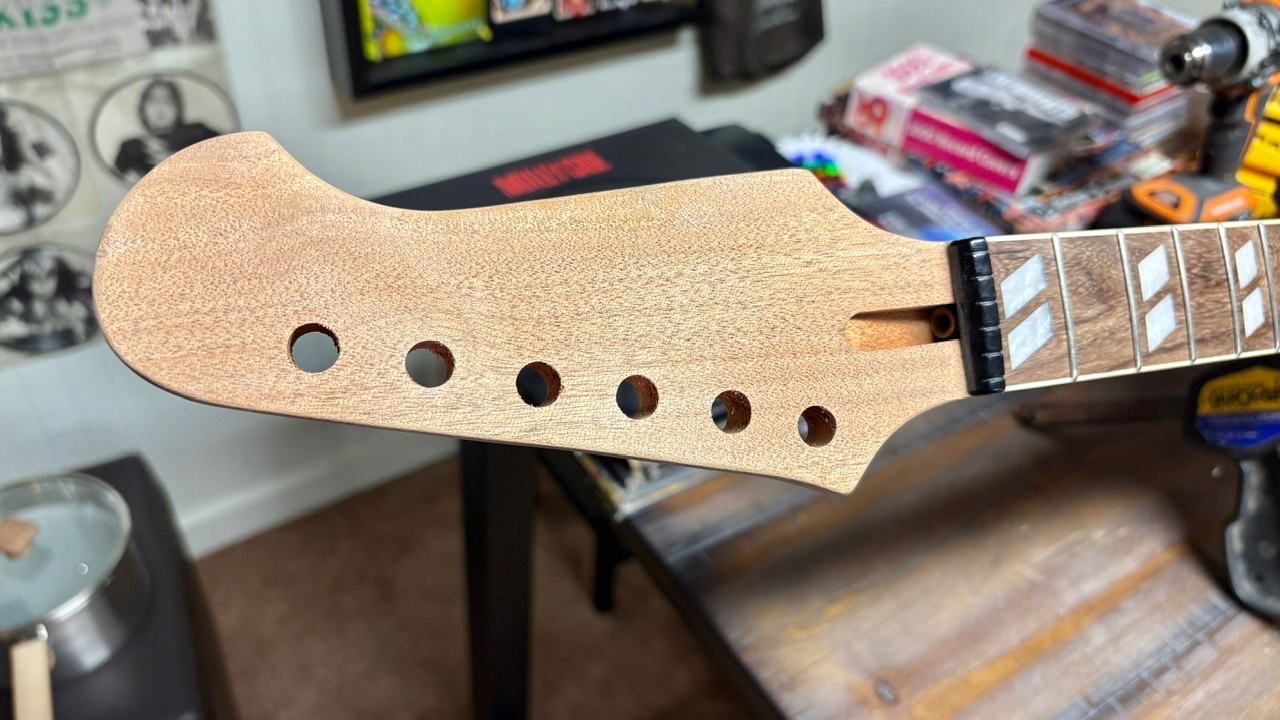
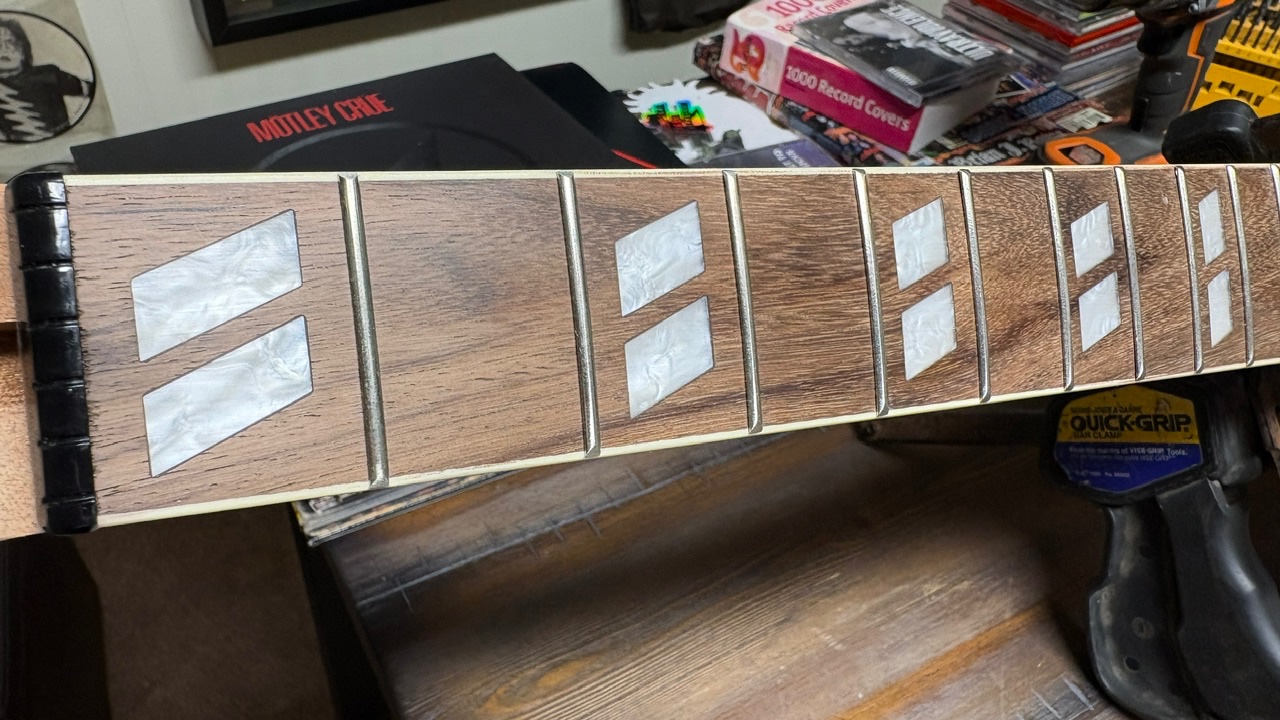
I have never built a guitar from scratch. I don’t have the tools to build a guitar from scratch. So when I saw this pop-up on my Instagram feed, I thought this would probably be a nice challenge/project for me.
I was worried about the quality of the kit, but I figured I would take the plunge anyway. Lol.
I would like to call out Fedex for their sloppy inconsistent service as usual. Lol it took 10 days for that kit to go from California to Michigan! lol.
My biggest worry was how the neck was going to fit in the pocket, and if the neck pitch was going to be accurate. The kit arrived yesterday and the very first thing out of the box that I did was set the neck into the pocket and I was very pleasantly surprised to find that it was a nice secure and snug fit! Not too tight, but definitely not loose!
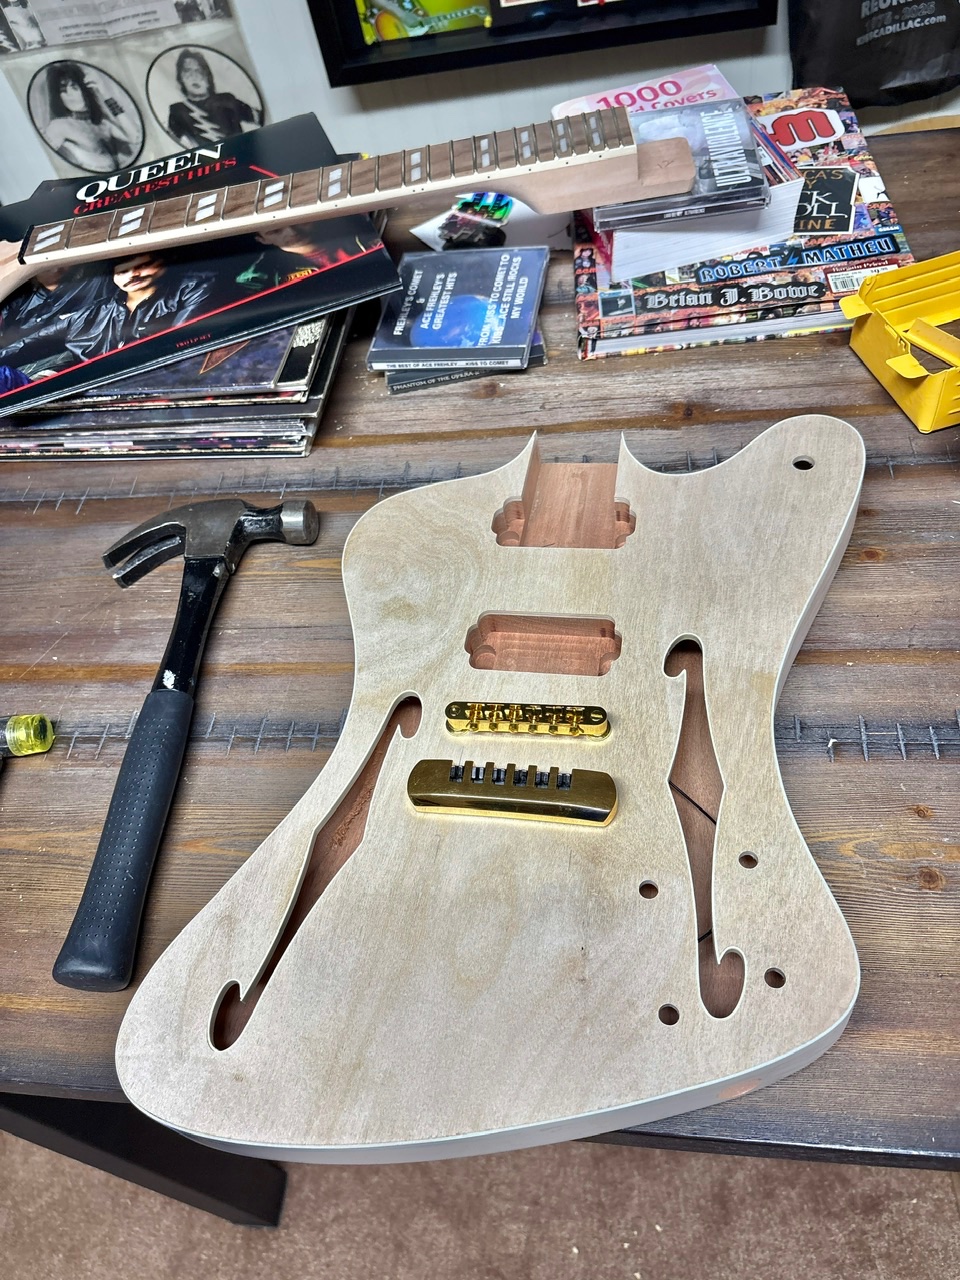
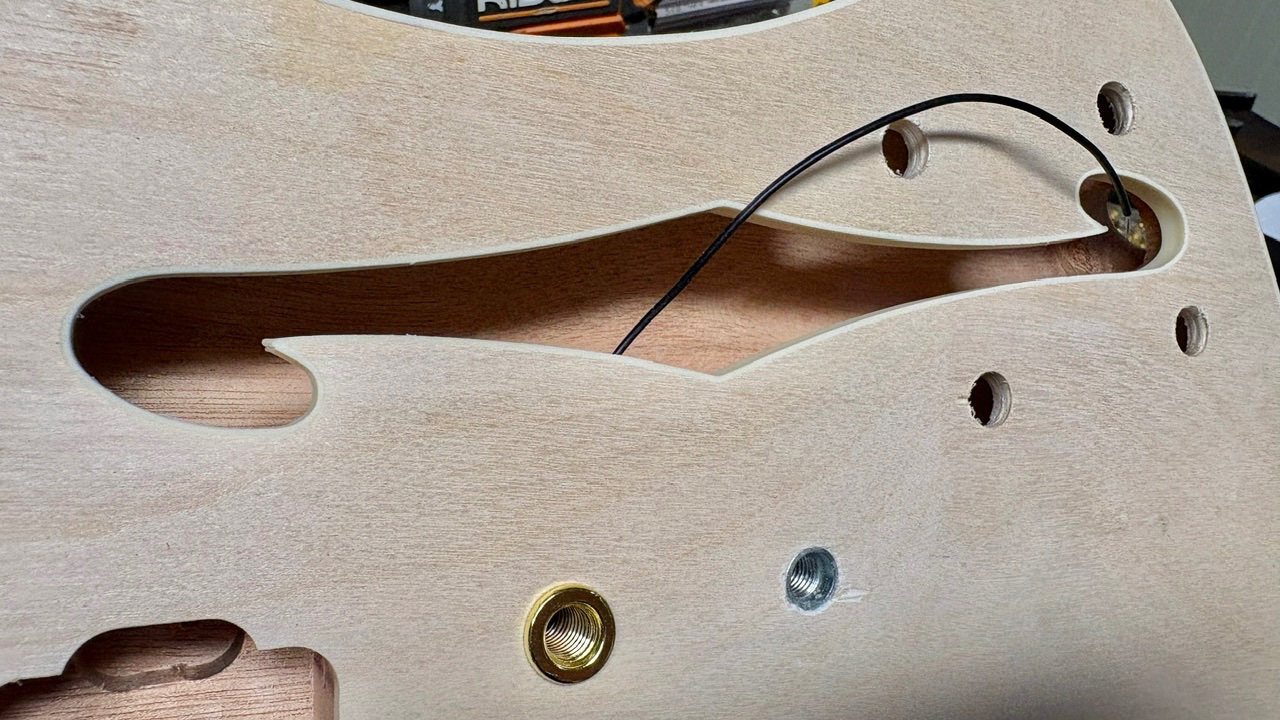
Then I had to calculate the pitch of the neck where it sat with the factory cut. So I installed the bridge bushings and set the bridge into the bushings and got my straight edge out and was pleased to find that the way they had cut the neck heel and fit it to the body, was just about perfect. I did not have to do any modifications to the neck heel to compensate for pitch or anything like that!
Before I glued the neck on, I wanted to get my holes drilled for the tailpiece and get the tailpiece set. The guitar came with a cheap knockoff version of a Bigsby. I hate those things so I decided to turn it into a standard stop tail. I got those holes drilled and installed the stop tail piece just to make sure that I could make everything go together and took the bridge in the tail piece off and then started gluing up the neck pocket and the neck heel.
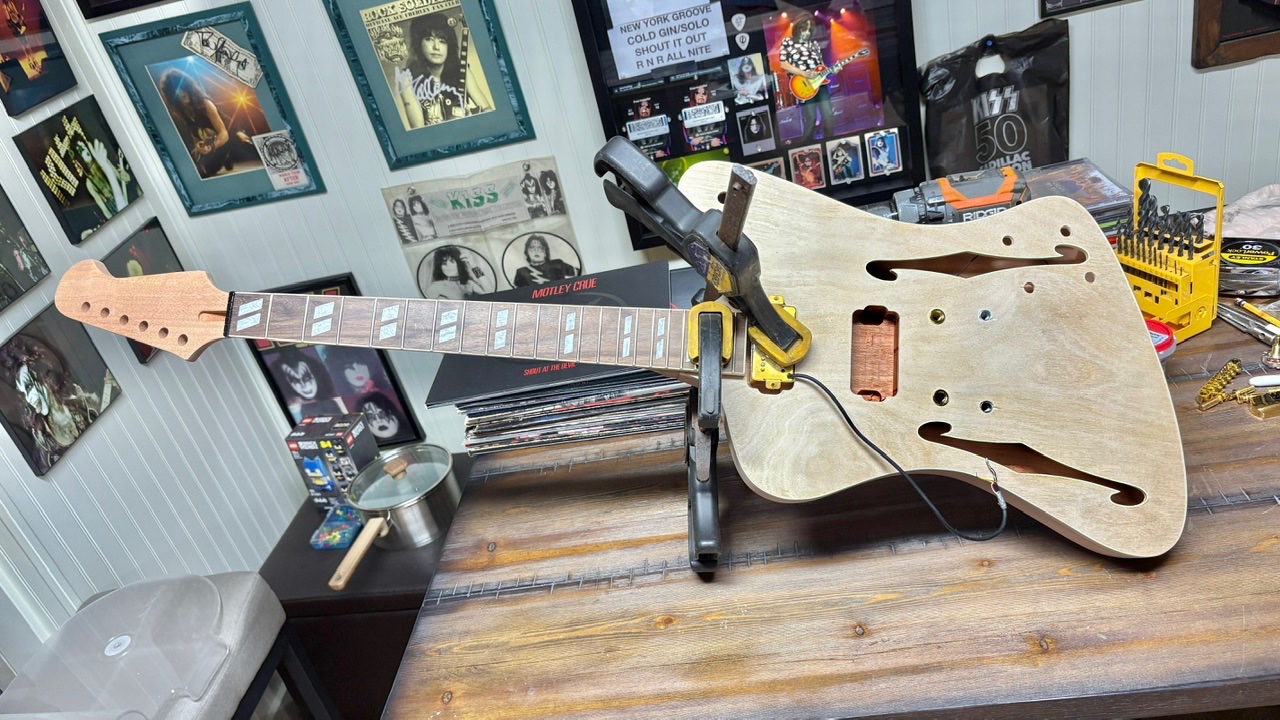
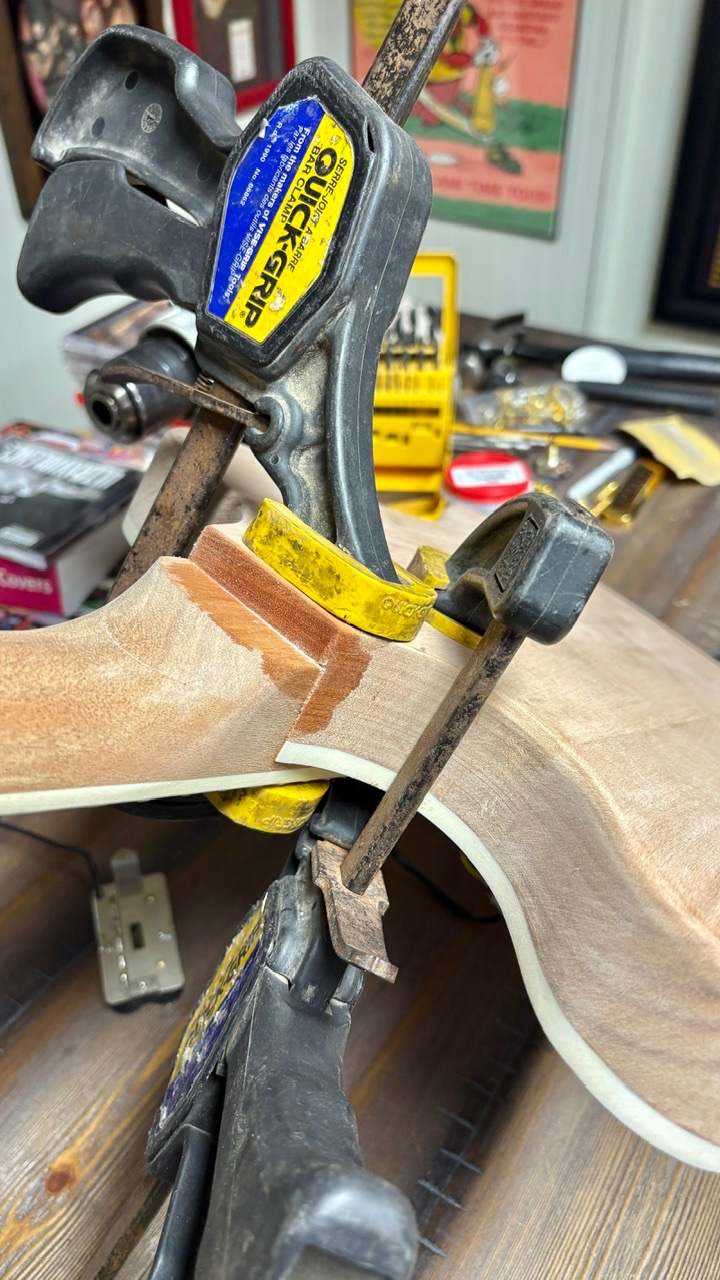
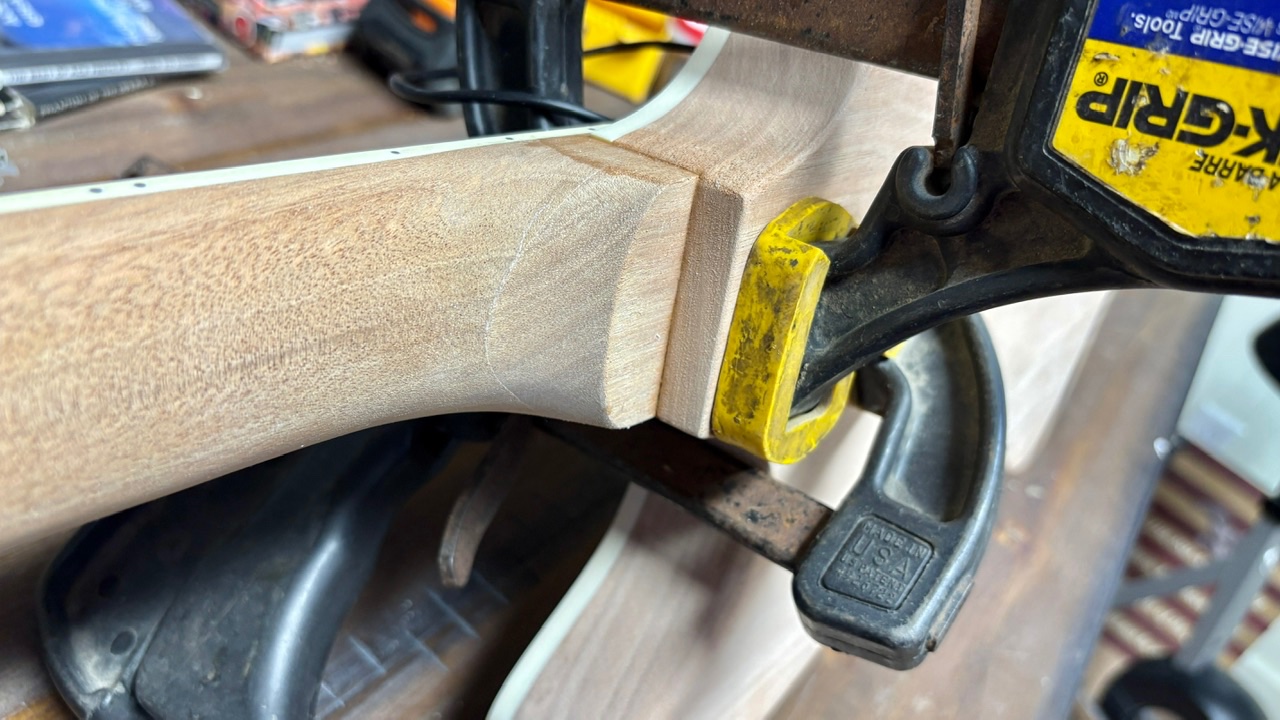
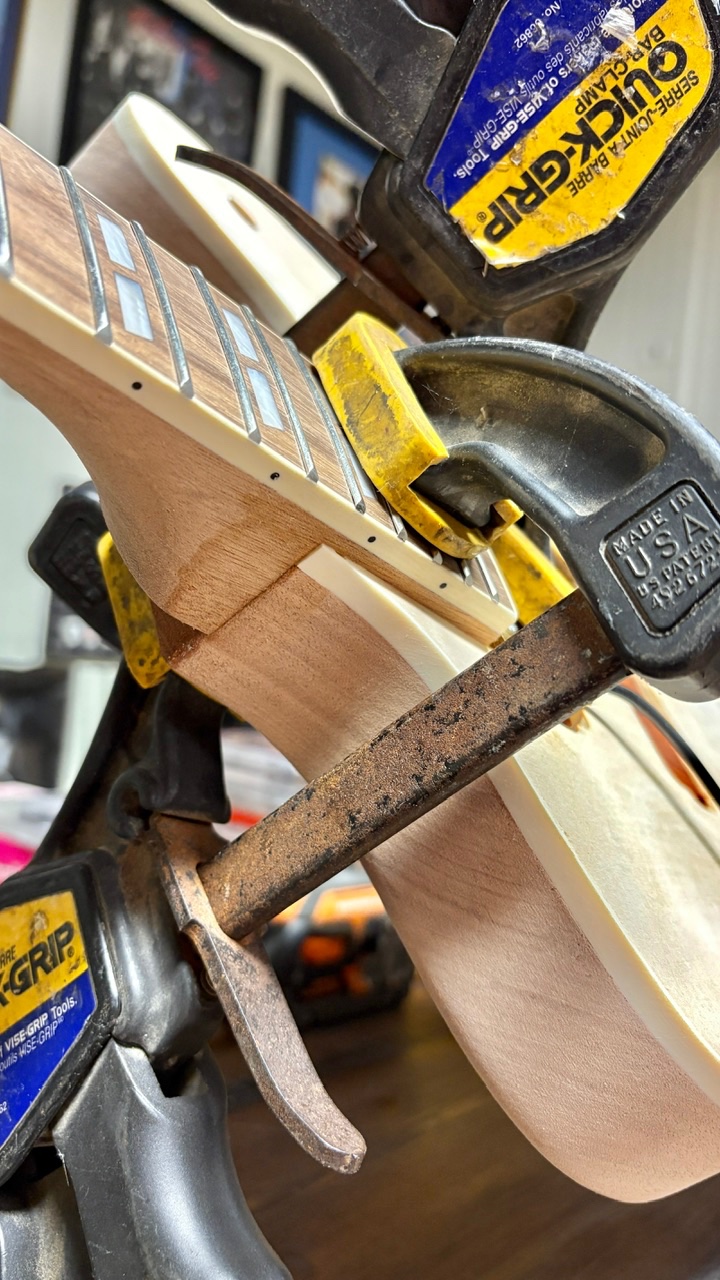
Using a smaller artist brush, I brushed tight bond, wood glue onto all sides that were being touched by the neck, heel and inside the neck pocket and push the neck into the neck pocket and I had glue oozing out of every side that made a connection which made me confident that I was able to get glue into every little nook and cranny that was necessary to ensure a good, secure, glue joint!
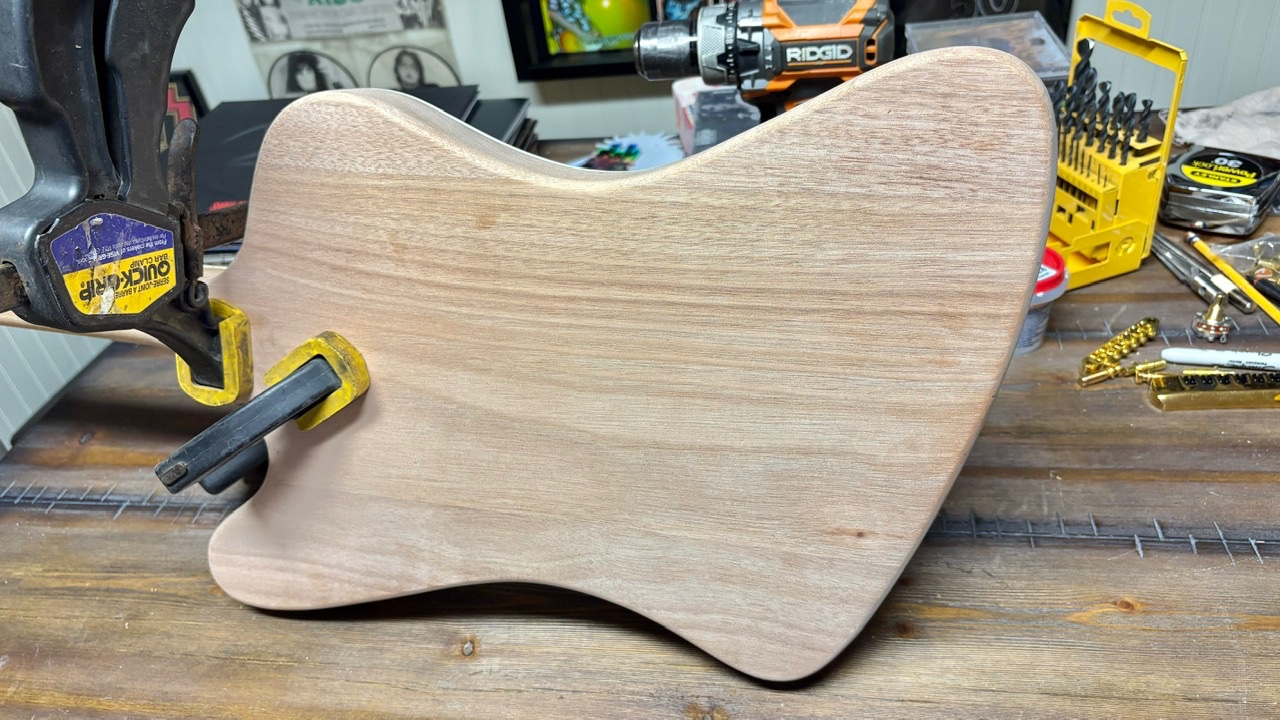
Then I clamped it up and I am going to let it set for a couple days before I start sanding and grain filling.
I will be posting more photos as I continue down this journey towards what I hope will be a very cool interesting guitar!
I was worried about the quality of the kit, but I figured I would take the plunge anyway. Lol.
I would like to call out Fedex for their sloppy inconsistent service as usual. Lol it took 10 days for that kit to go from California to Michigan! lol.
My biggest worry was how the neck was going to fit in the pocket, and if the neck pitch was going to be accurate. The kit arrived yesterday and the very first thing out of the box that I did was set the neck into the pocket and I was very pleasantly surprised to find that it was a nice secure and snug fit! Not too tight, but definitely not loose!
Then I had to calculate the pitch of the neck where it sat with the factory cut. So I installed the bridge bushings and set the bridge into the bushings and got my straight edge out and was pleased to find that the way they had cut the neck heel and fit it to the body, was just about perfect. I did not have to do any modifications to the neck heel to compensate for pitch or anything like that!
Before I glued the neck on, I wanted to get my holes drilled for the tailpiece and get the tailpiece set. The guitar came with a cheap knockoff version of a Bigsby. I hate those things so I decided to turn it into a standard stop tail. I got those holes drilled and installed the stop tail piece just to make sure that I could make everything go together and took the bridge in the tail piece off and then started gluing up the neck pocket and the neck heel.
Using a smaller artist brush, I brushed tight bond, wood glue onto all sides that were being touched by the neck, heel and inside the neck pocket and push the neck into the neck pocket and I had glue oozing out of every side that made a connection which made me confident that I was able to get glue into every little nook and cranny that was necessary to ensure a good, secure, glue joint!
Then I clamped it up and I am going to let it set for a couple days before I start sanding and grain filling.
I will be posting more photos as I continue down this journey towards what I hope will be a very cool interesting guitar!


