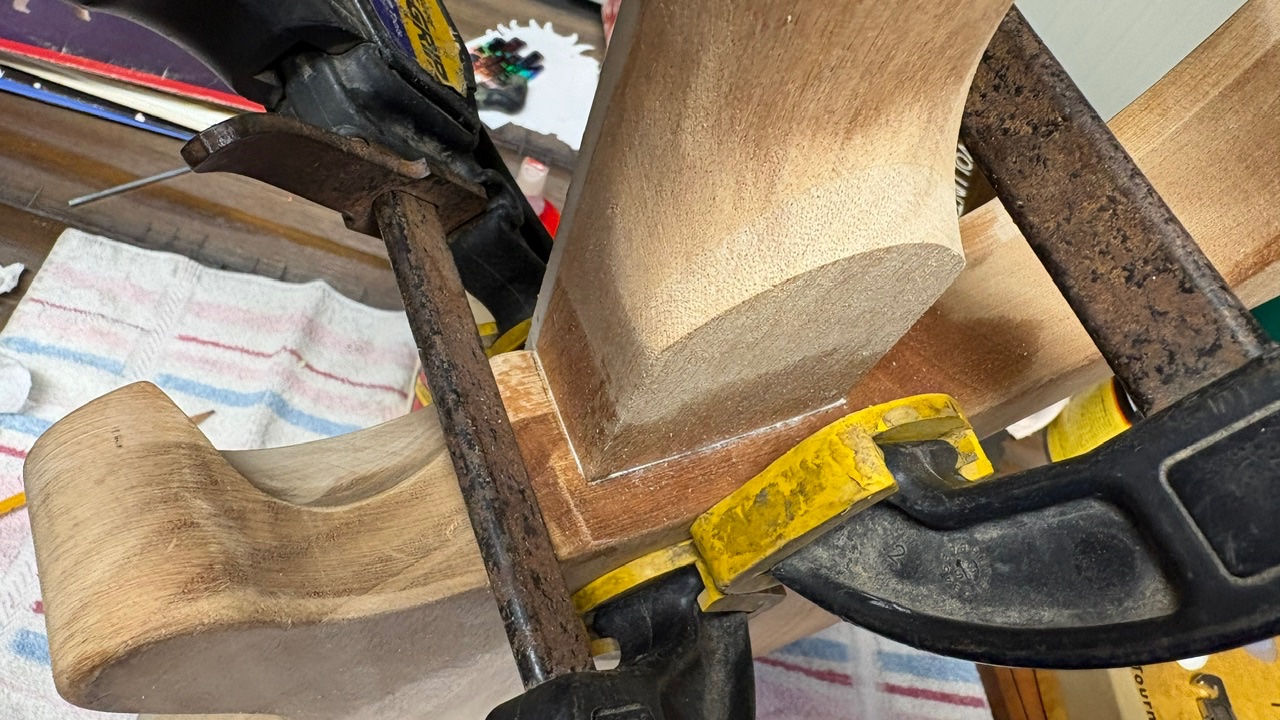
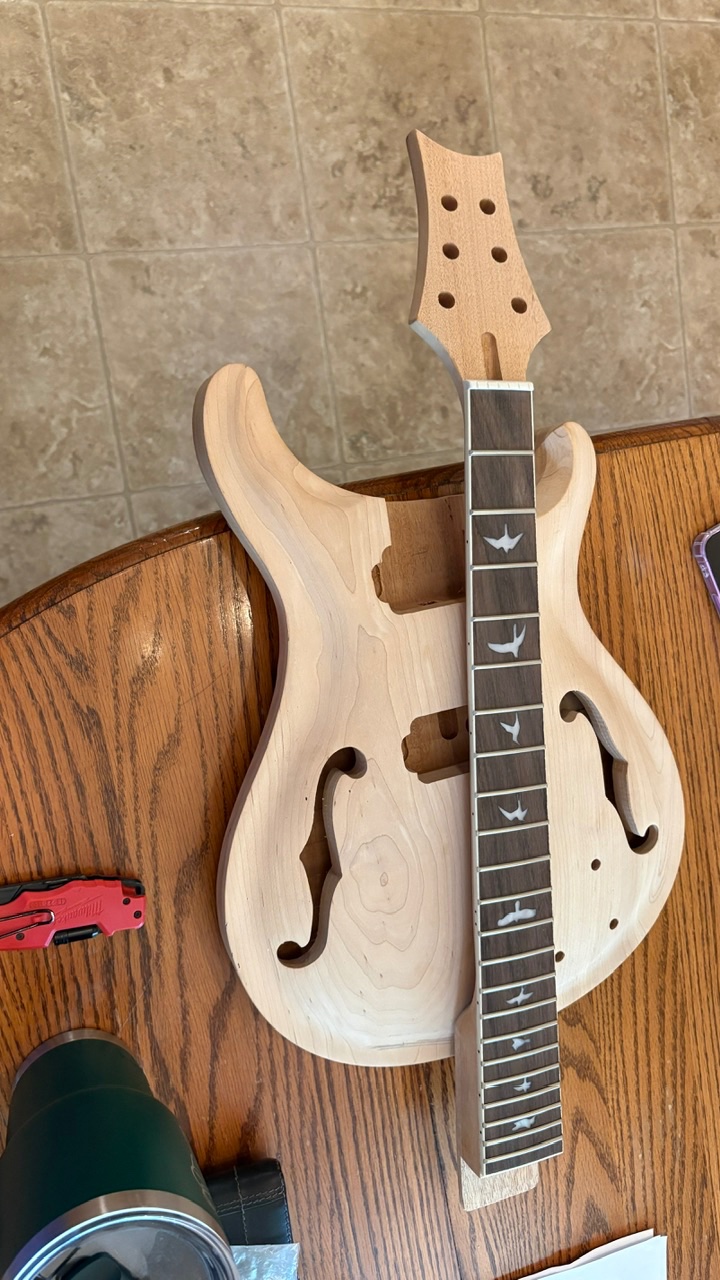
Kit guitar #3

BRENTrocks

BRENTrocks

Well-known member
So my buddy sends me a link to a FB MP add….

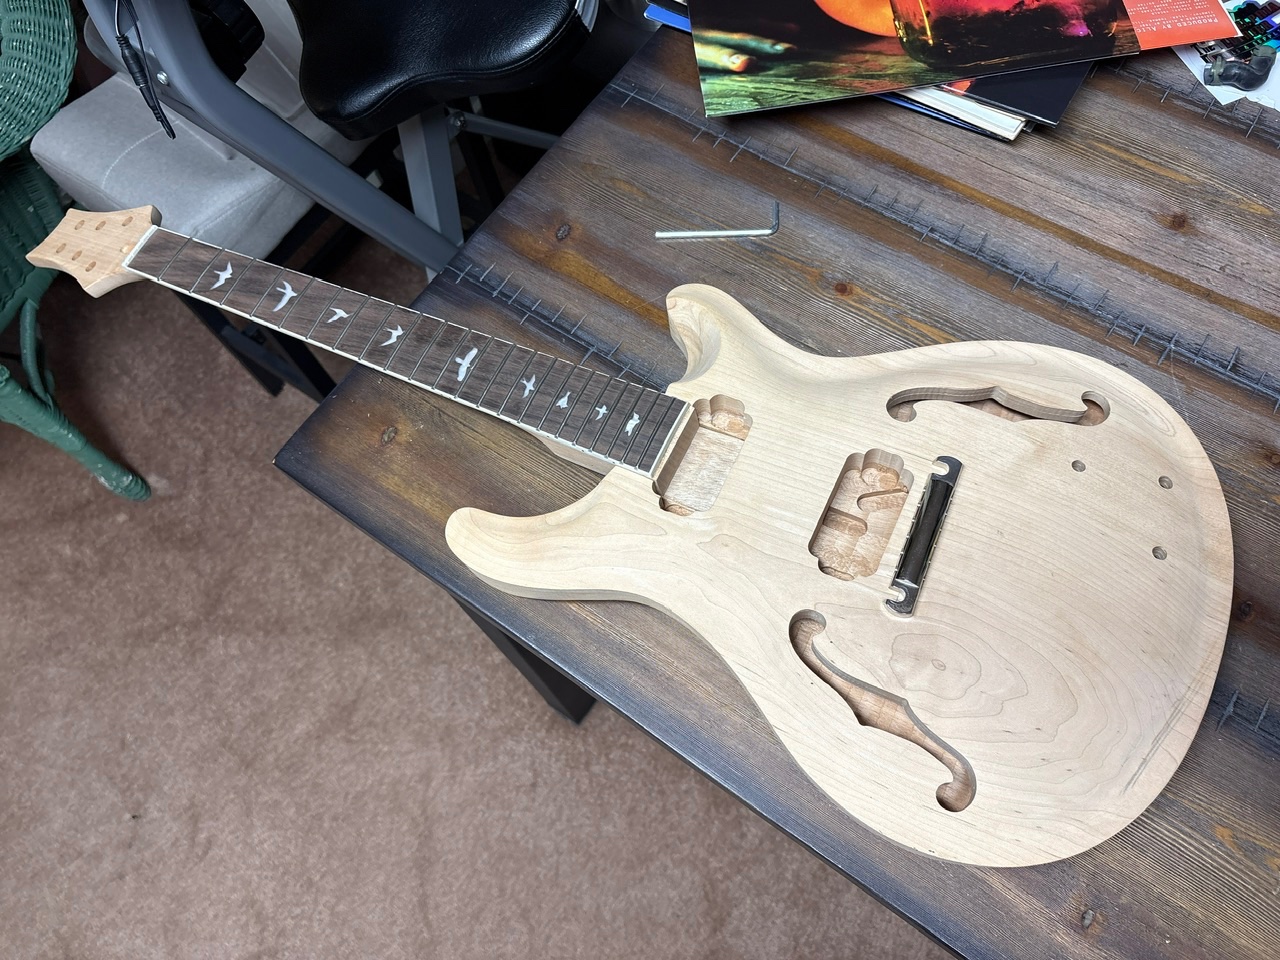
It’s a PRS-ish copy semi hollow.

Mahogany body. Mahogany neck. Thick maple cap.

Got it for $30. It’s a $150+ kit. It needed ALOT OF MODS!! I think it might have gotten past QC???

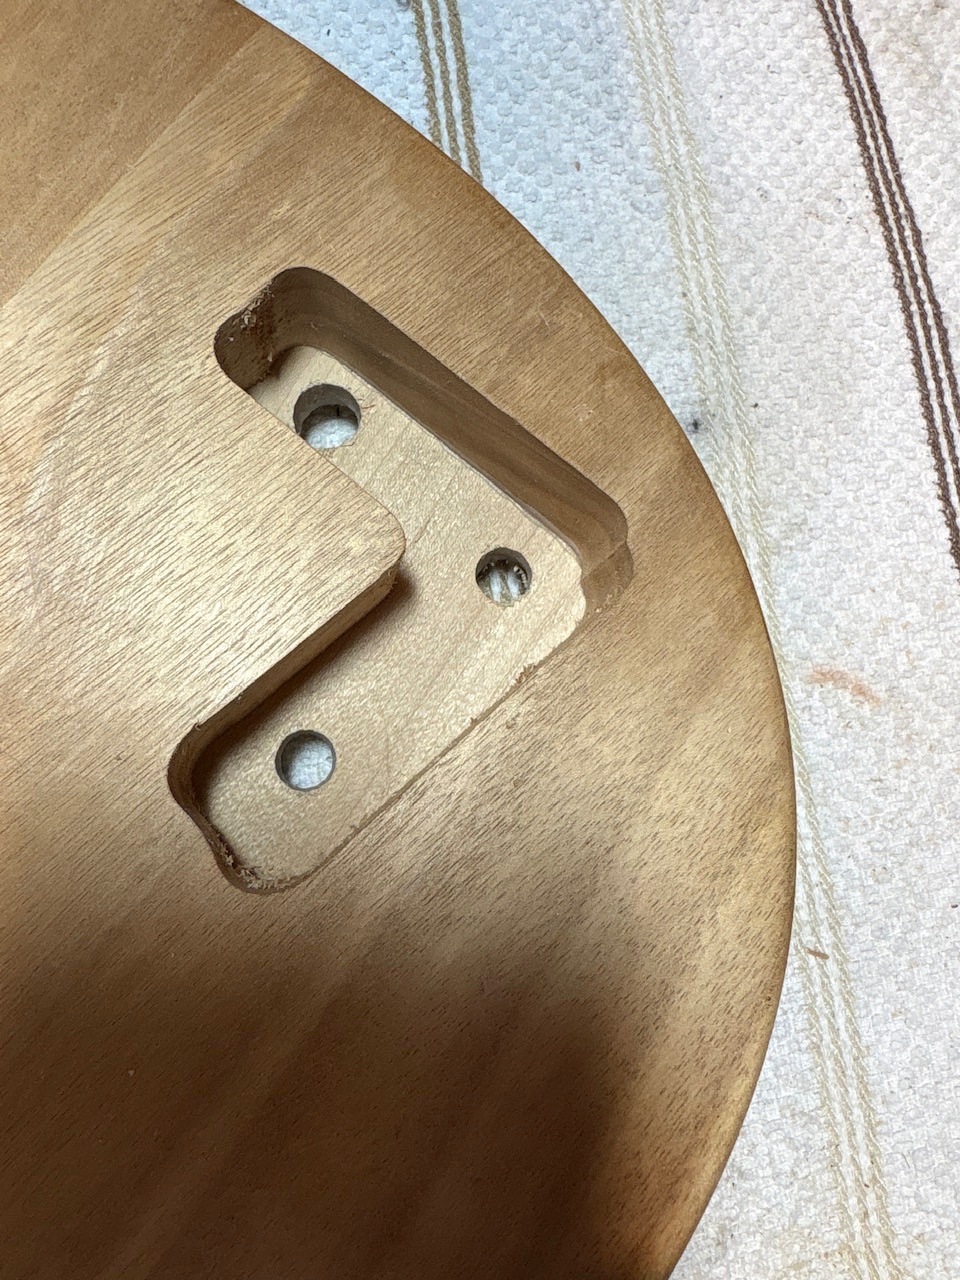
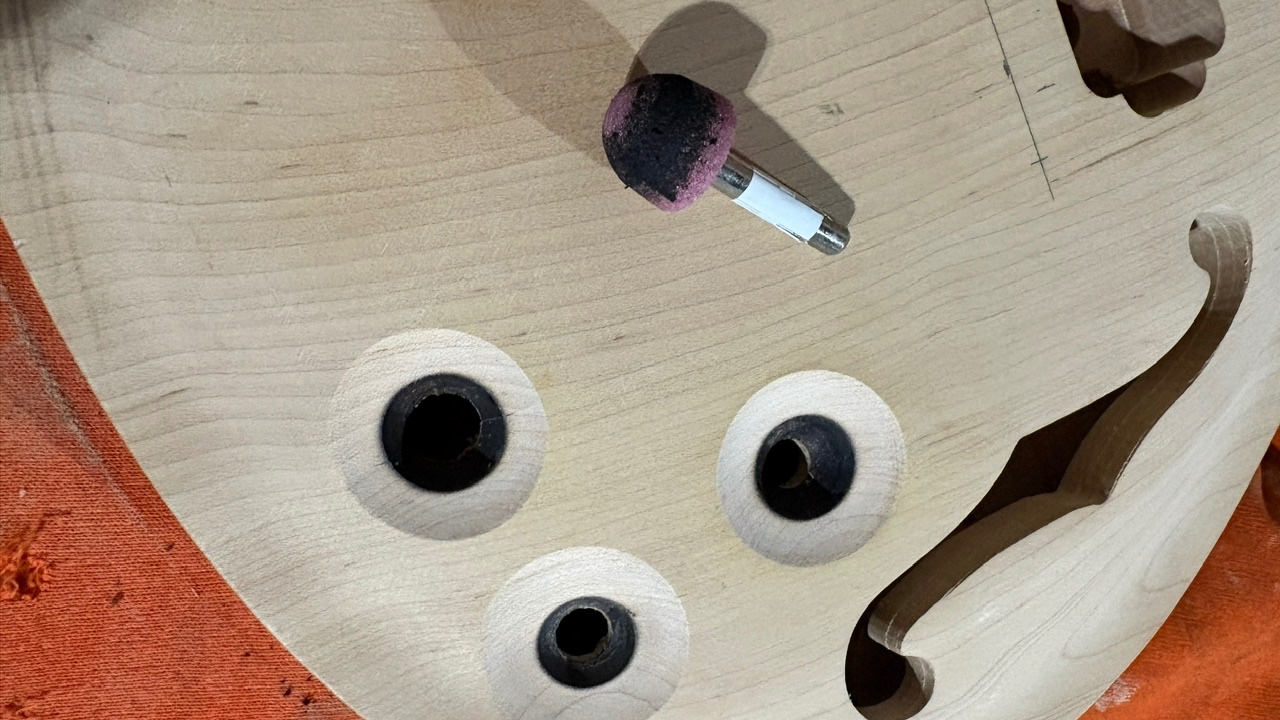
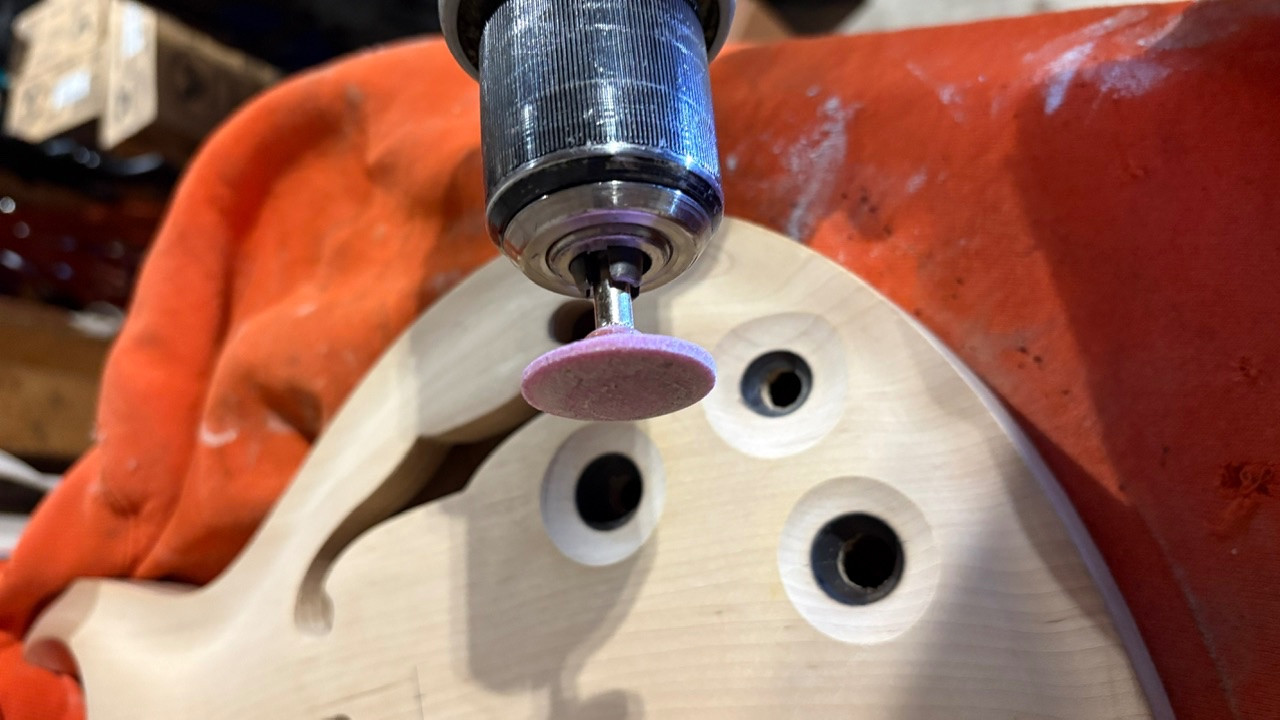
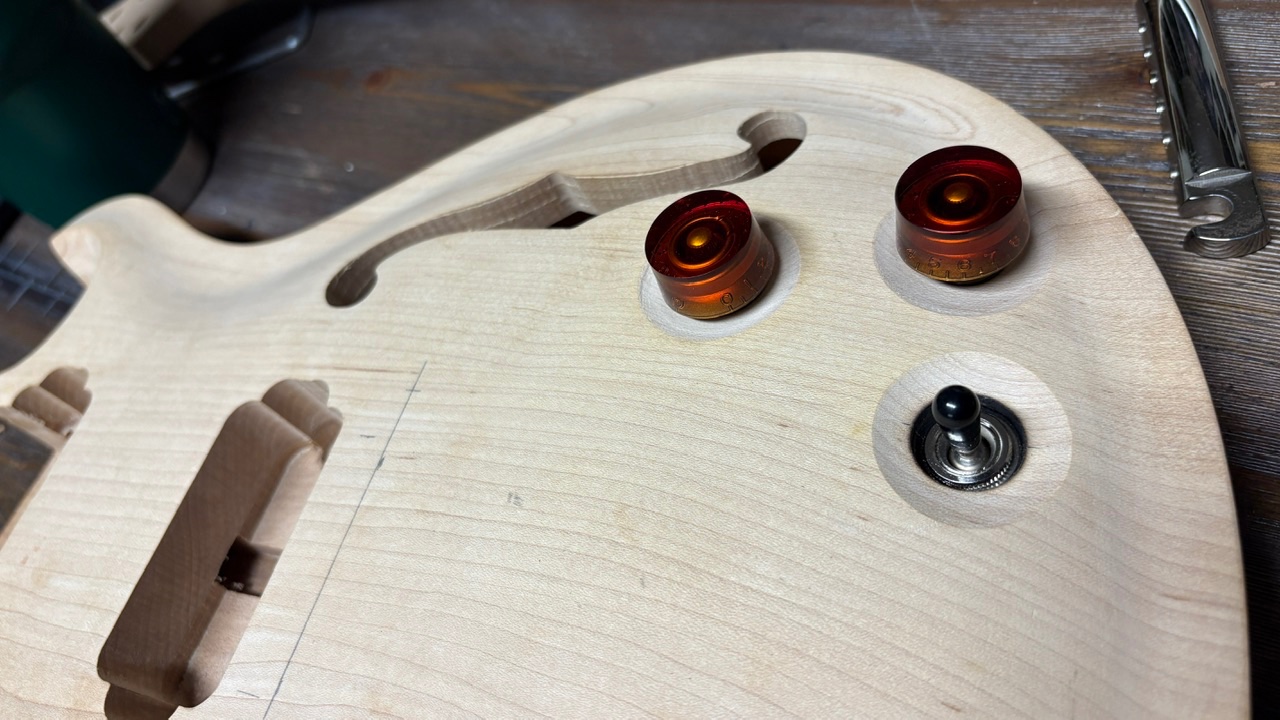
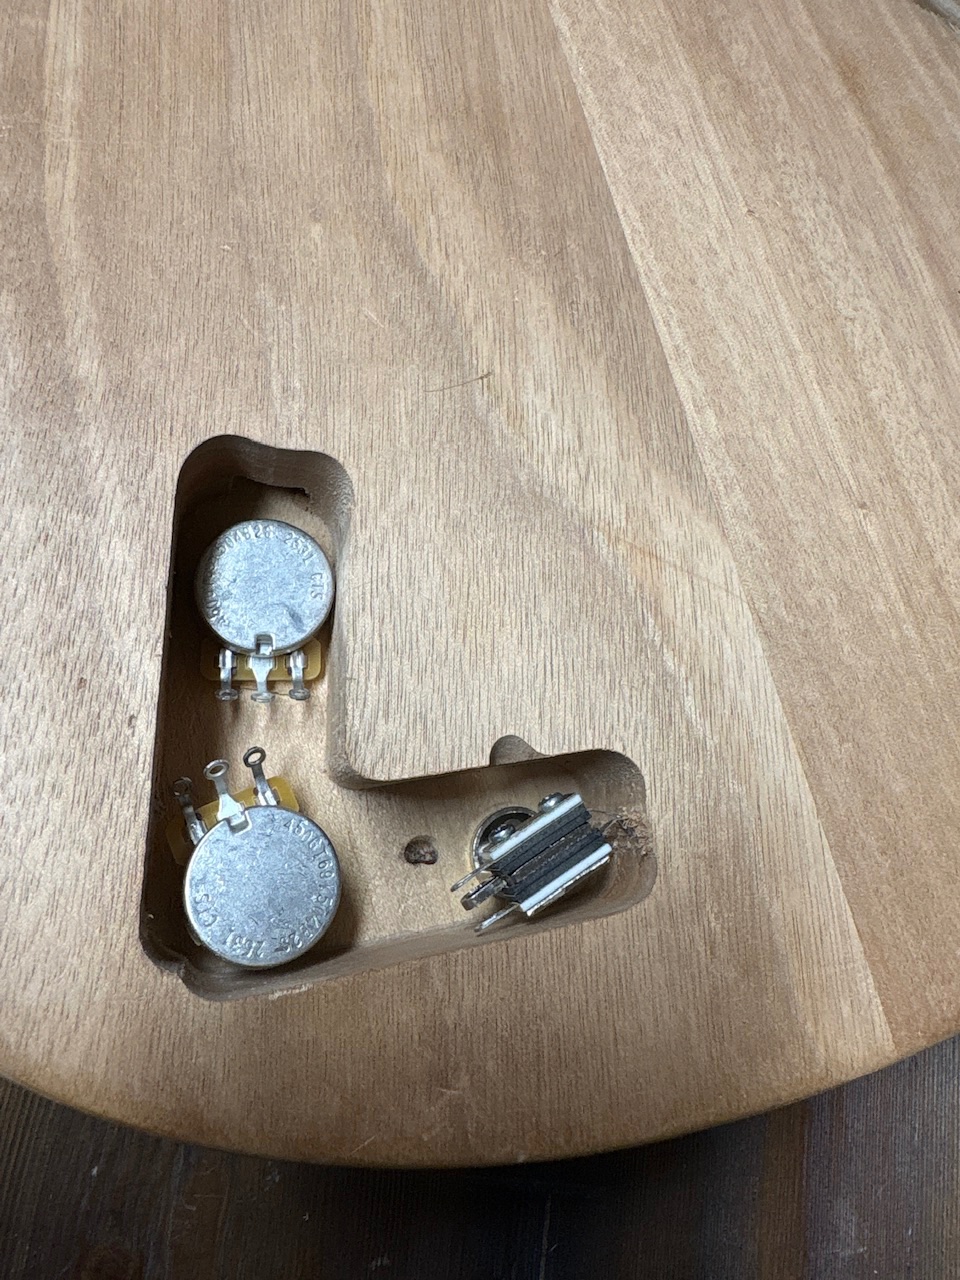
The neck pitch was WAY OFF. The control holes were unusable because the top was so thick…they didn’t route the cavity deep enough!!! So I had to “hollow out” the control holes from the top.

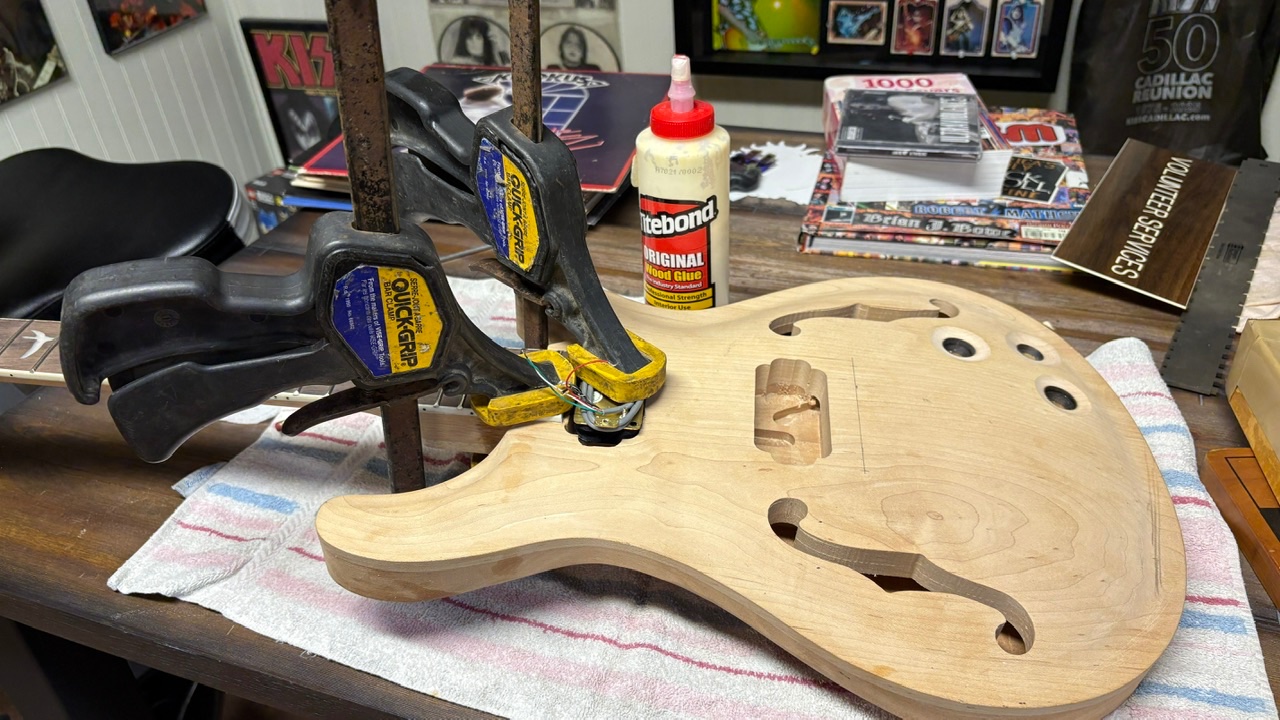
I had to fab wood shims to correct the neck pitch. I’m pretty confident that it will hold. I had glue oozing from all points.

It needs a ton of sanding and prepping yet. Not sure what I’m gonna do for a finish yet.

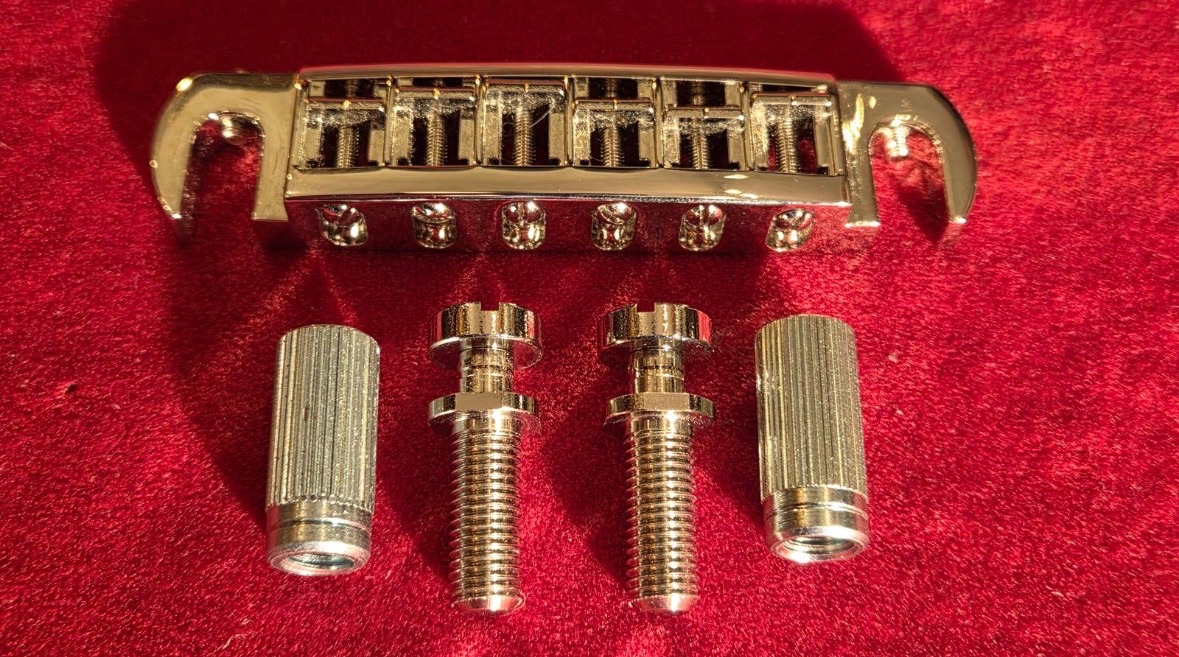
I’m doing a wrap tail bridge. One volume. One tone. 3 way toggle. Grover tuners.

Should be an interesting project.


IMG_1899.jpeg
IMG_1901.jpeg
IMG_1905.jpeg
IMG_1908.jpeg
IMG_1911.jpeg
IMG_1912.jpeg
IMG_1913.jpeg
IMG_1914.jpeg
IMG_1915.jpeg
IMG_1916.jpeg
 
I thought I saw on a video somewhere or read somewhere that if you take a piece of cardboard and cut it out in the exact shape of the top of the guitar …..but cut it a couple inches smaller all the way around that you can put that over the guitar and then shoot your black from a distance and that will assist you in getting that burst effect on your finish?

Has anybody ever tried this?
 
Brent Reed Smith lol.

Cool project Brent. If it was mine Id probably dye the top stain th back and sides and bury it in clear lacquer myself. Spraying nice bursts is a skill.
 
Brent Reed Smith lol.

Cool project Brent. If it was mine Id probably dye the top stain th back and sides and bury it in clear lacquer myself. Spraying nice bursts is a
So your saying just do the same color over the whole guitar?
 
I thought I saw on a video somewhere or read somewhere that if you take a piece of cardboard and cut it out in the exact shape of the top of the guitar …..but cut it a couple inches smaller all the way around that you can put that over the guitar and then shoot your black from a distance and that will assist you in getting that burst effect on your finish?

Has anybody ever tried this?
Not sure about that one, you really need that mist/overspray for that burst effect, using a mask off/pattern would give you more of a hard cut line instead of that fade. I have no doubts a guy like you can do this !! , just practice on another piece of wood first.
 
I thought I saw on a video somewhere or read somewhere that if you take a piece of cardboard and cut it out in the exact shape of the top of the guitar …..but cut it a couple inches smaller all the way around that you can put that over the guitar and then shoot your black from a distance and that will assist you in getting that burst effect on your finish?

Has anybody ever tried this?
I've done this several times. It's called the poor man's burst. It's not difficult, but there is a bit of an art to it to get the feathering effect you want. There's 3 main parts to it. The size of the cardboard cutout, the height of it over the body, and the angle you spray the paint.

The cutout should be the same size of the guitar body or smaller. The smaller the cardboard cutout the wider the burst will be; you'll end up with a wider solid part and the feathering will be further in.

The height of the cutout over the body will affect the size of the burst. The higher the cutout off the body, the larger size the burst size will be; i.e. you'll have a larger solid portion before it starts feathering out. Just make sure you put whatever you're using to hold the cardboard up far enough away from the perimeter of the body so it doesn't get in the way of the spray.

The last part of the equation is the angle you spray at. A steep angle will produce a sharper (less feathering) line. The shallower your spray angle the more of a feathering effect you'll get.

You just have to play around with those 3 parameters to achieve the burst you want. As always test on scrap before you go at the real thing.

This is one I did with a rattle can over a fabric top. The cutout was the same size as the body, Thumbtacks were used to hold the cardboard up, and I sprayed at about a 45 degree angle. The red paint I used wasn't exactly color matched to the fabric so the feathering effect doesn't look quite as soft as it could have if the colors were a perfect match. This should give you a decent idea of the effect though.

1788198818292.png


As an alternative you can also wipe on a burst pattern with stain. This gives you a lot more leeway than painting. It's easier to get a color fade effect. have the colors you want and clean rags ready to go. Start by wiping on the outside color all the way around the perimeter of the body. Then wipe on the main body color up to the line of your other color. From there start blending the colors into one another. You can even get fancy and do three colors like going from red to orange to yellow. Search youtube for guitar burst with stain. There's a lot of videos on how to do it.

This is a body I tried a red to orange burst on with dye/stain.

1788199407101.png
 
Back
Top